1
INSTALLATION INSTRUCTIONS
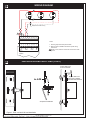
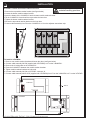
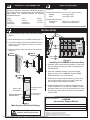
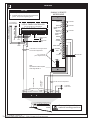
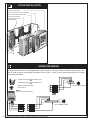
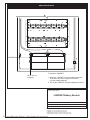
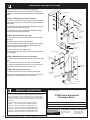
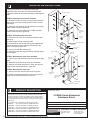
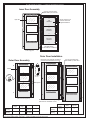
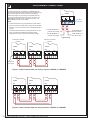
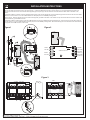
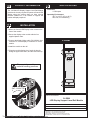
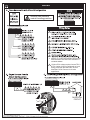
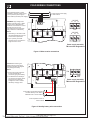
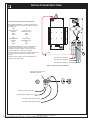
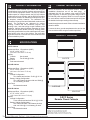
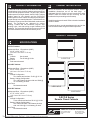
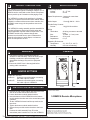
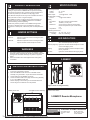
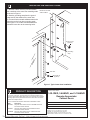
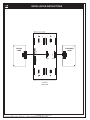
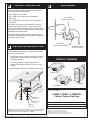
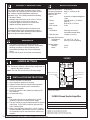
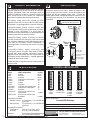
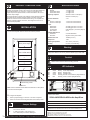
1. With the wallbox securely mounted, attach
the outer door to the outer door mounting studs
as shown in Figure-1.
2. Attach a grounding strap from the ground
strap stud on the wallbox to the outer door.
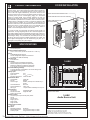
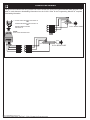
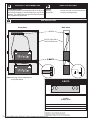
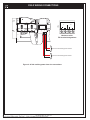
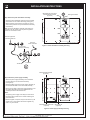
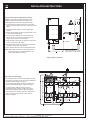
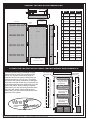
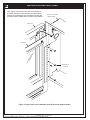
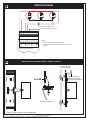
3. On semi-flush mounted wallboxes attach the
inner door to the inner door mounting studs.
See Figure-2. On surface mounted wallboxes
screw the inner door to the mounting holes.
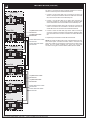
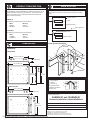
Remote annunciator
cabinet wallbox
#8-32 lock nut
(2 places)
Grounding
strap
Outer door
#6-32 lock nut
(4 places)
Figure-1: Typical outer door installation
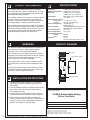
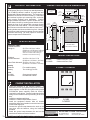
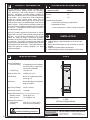
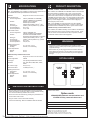
PRODUCT DESCRIPTION
INSTALLATION SHEET:
3-RLCM/D, 3-6ANN/D, and 3-10ANN/D
Remote Annunciator
Cabinet Doors
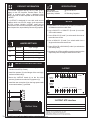
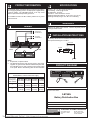
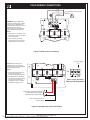
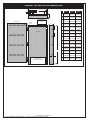
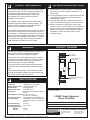
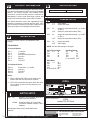
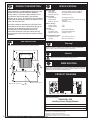
The remote annunciator cabinet door assembly consists of an inner
door and an outer door. The outer door has a viewing window and is
secured in the closed position with a key lock. The inner door provides
mounting space for the panel electronics and is secured in the closed
position with a captive screw.
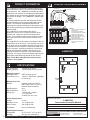
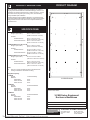
The line of remote annunciator cabinet door assemblies include:
Model
Description
3-RLCM/D Grey door with window for the 3-LCDANN semi-flush
and surface mount cabinets
3-6ANN/D
Grey door with window for the 6-ANN semi-flush
and surface mount cabinets
3-10ANN/D Grey door with window for the 10-ANN semi-flush
and surface mount cabinets
INSTALLATION SHEET P/N: 387310
FILE NAME: 387310.CDR
REVISION LEVEL: 2.0
APPROVED BY: K. Patterson
DATE: 06DEC99
CREATED BY: G. Sutton
EDWARDS SYSTEMS TECHNOLOGY, INC.
SARASOTA, FL: 941-739-4300 FAX 941-753-1806
CHESHIRE, CT: 203-699-3000 FAX 203-699-3075
OWEN SOUND, CANADA: 519-376-2430 FAX 519-376-7258
INTERNATIONAL, CANADA: 905-270-1711 FAX 905-270-9553
Technical Manuals Online! - http://www.tech-man.com