1
For Exposed Wiring
1.
2.
3.
4.
5.
6.
7.
8.
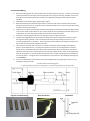
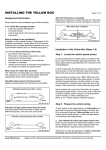
Mount the two legs that do not have holes at the curved end onto the rail first. To do this remove the mounting
bracket from the leg by loosening the grub screw using the allen key provided. Then screw through the centre of
the leg into the rail at the non powered end using the two machine screws provided.
Now select which side wiring you require (left or right).
Mount the third leg with the mounting bracket in it onto the side of the rail that will not have the wiring and
secure it to the rail using the screws already mounted on the rail.
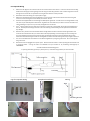
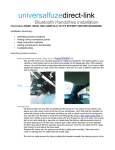
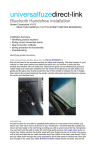
Feed the lead supplied with the rail through the black plastic grommet. You will need to cut the grommet to slip
over wire as per attached photo’s.Now the 4th leg slides over the cable and you need to connect the lead to the
rail lead making sure you line it up correctly and tighten the connection.
The 4th leg then slides over the cable and connection and secures to the rail with the screw already attached to
the rail. The lead passes through the hole in the end of the leg and the black grommet protects the cable from
any damage.
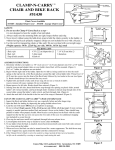
Hold the rail in position and mark the wall where the legs will be and then hold the mounting brackets in the
centre of this and drill holes for your anchor which will vary depending on the wall type you are screwing into.
For ease of drilling hard tiles we recommend using Thermodrill. Screw the 3 mounting brackets for the legs
without the lead and the angle bracket for the leg with the lead to the wall making sure they are tight and secure.
The rail is now fitted over the brackets on the wall and tightened up using the grub screws. Do not over tighten
the grub screws.
Now the lead can be plugged into a power point. We recommend a timer is used to prolong the element life and
to conserve power. A range of timers are available from your stockist or by contacting Thermogroup on
1300368631.
You will be left with the following parts
1 spare leg with black grommet, 1 plastic spacer, 1 metal mounting bracket, Flat round bracket
Legs for Exposed Wiring
Completed Installation
Wiring