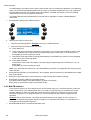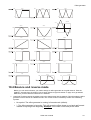
1
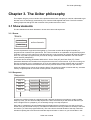
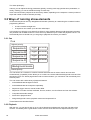
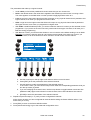
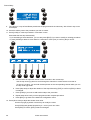
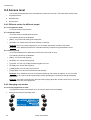
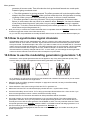
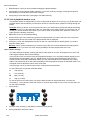
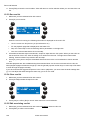
Program features
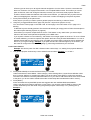
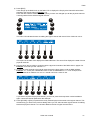
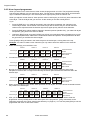
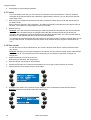
fixture 1
fixture 2
fixture 3
fixture 4
Active layer
<--->
DIM
[---]
COLW1
<--->
DIM
[---]
COLW1
<--->
DIM
[---]
COLW1
<--->
DIM
Inactive layer
<--->
DIM
[---]
COLW1
<--->
DIM
[---]
COLW1
<--->
DIM
[---]
COLW1
<--->
DIM
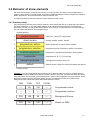
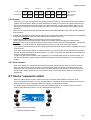
Active channels
stored
Active channels
[---]
COLW1 NOT stored
[---]
COLW1
9.6.6 Presets
Obviously, if you want to use presets you need to program some first. The preset is simply a look that you
create in the programmer. When you have finished this chapter you will know how create a look. But you
need to store that look explicitly as a preset (see ‘Store as preset’ on page 92 for details). Here you will
learn how to recall them. For this example, you need to store a look with PAN and TILT channels under
preset 101.
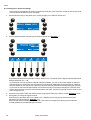
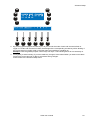
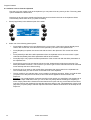
1. Select one or more devices. See Select/deselect device and Select/deselect range if you do not remember
how to do that.
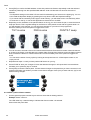
2. Activate the channels you wish to use by touching the corresponding fader or by pressing the corresponding
bump button. Example: Press the bump buttons under PAN and TILT once.
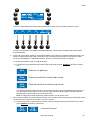
3. Hold the bump button under the channel that you want to give a preset.
Use the page keys and general purpose number keys to select the preset page and preset number.
Example: Press and hold the bump button under the PAN channel while you press page key 1 and general
purpose key 1 to recall preset 101. Release the bump button. Do the same for the TILT channel.
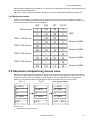
If you select a preset that does not have anything programmed for the logical channel, it applies the value 0
to the channel.
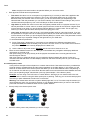
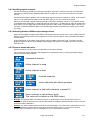
If you wish to get rid of the preset on a certain channel, you need to press the corresponding bump button
until the channel is transparent (indicator reads [---]). Then you just touch the fader again to reactivate it as
a normal channel without preset.
To get rid of all the preset modes in the programmer, you can hold [EDIT] while you press [CLEAR]. This
will clear out all values, preset modes and effect parameters from the programmer so you can start from
scratch.
9.6.7 Undo function
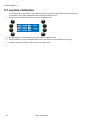
In the next section you will see that the editor automatically stores changes when you scroll to another
step. The undo function comes in handy if you accidentally change a value by touching a fader or you
realize that you are changing the value of the wrong step. With the undo function, you can recall the last
stored values. Simply press [CL]; the cue list button serves as the undo button when you are inside the
programmer.
9.7 Scene / sequence editor
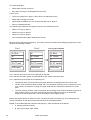
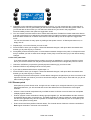
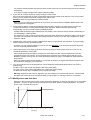
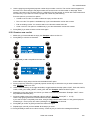
When you select devices or edit a scene, the scene / sequence editor appears on the main LCD.
As you can tell from the name, you use the same editor to create both scenes and sequences. The scene
editor simply turns into the sequence editor the moment you add multiple scenes.
The editor actually has two screens. One with the essential functions you need to create a scene and
another with advanced functions. You can swap between them with [•].
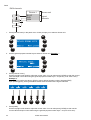
The basic functions of the editor:
•
Insert scenes before current
Xciter user manual
67