1
bksbLIVE (PLTS) User Guide
Copyright © 2013 Vision West Notts College
Support: 01623 413333
Step 2 (of the Add Learner process) – Select Subjects
Having entered the learner’s details and selected the ‘Next’ button, step 2 of the
process (Select Subjects) is displayed.
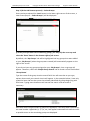
You are now presented with a screen spilt into two halves; the right-hand panel
(‘Selected Subjects’) shows the DEFAULT courses assigned to all students, whereas in
the left-hand panel (‘Subject List’) are displayed all of the software you license
(including all variations) of the software.
The DEFAULT subjects/course is configured by the administrator and will apply
to all new learners added to the system. However, should you wish to assign a
completely different suite of subjects/courses, these can be modified by logging
in as a tutor, searching for the learner and manually amending their account.
For more information, refer to the guide ‘bksb (Tutor)’ on the tutor home page.
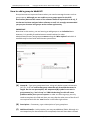
If you are happy with the default course for this learner, then select the ‘next’ button
in the lower-right corner of the screen. If, however, you wish to add another subject
to a particular learner’s course, simply scroll through the available subjects (in the
left-hand panel) until you reach the subject you are looking for.
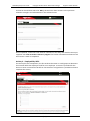
Next, click on the green + symbol adjacent to the subject; the subject will be moved
over to the right-hand panel and will now appear on the learner’s homepage when
they next log in. If you add a subject in error, simply click on the red X symbol to
remove that subject and it will return back to the left-hand panel.
[11]