1
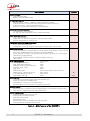
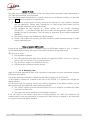
1.1. Install and connect SCOOP 5
x
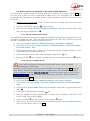
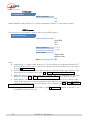
Plug on a power source: the SCOOP 5 automatically starts up. To put it on stand-by or
restart it, press the
key (top left corner on the front panel) for at least 3 seconds.
x
x
Connect the necessary audio interfaces (details: page 28)
x
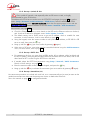
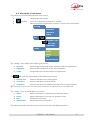
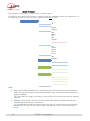
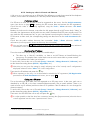
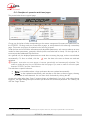
Using the SCOOP 5 menus:
key or
key to activate the main menu, use the arrows to
select a sub-menu or a parameter, enter or validate with the
key.
jumps back up to
the previous menu level, until getting back to the base screen (with level display).
(details: page 45)
Connect SCOOP 5 on the transmission network (details: page 28 and following)
1.2. Audio settings
x
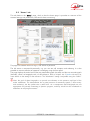
With factory settings, the active inputs are the analog ones, and clipping level is set at
+16 dBu for both inputs and outputs.
x
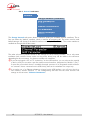
Enter the menus using
further on page 56.
, select Setup then Audio. Perform necessary settings, see details
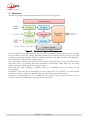
1.3. Select and set up network to be used: wired networks
x
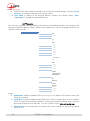
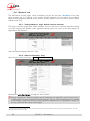
Select network: Setup menu then Network, then select Change Network,
. In the
proposed choice, select the desired network (ISDN, LL, Ethernet, POTS). Validate with
.
x
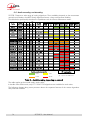
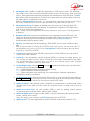
Select the audio coding: menu Setup / Algorithm, then Other, then
. Browse the
available choice with the arrows, and make a selection with
. Restart the same procedure
to change for another coding setup.
L The available choice depends on the transmission network! For more details on coding,
see page 14.
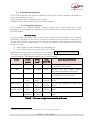
1.3.1. Set up an ISDN link
x
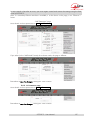
If needed, select the protocol with Setup / Network / ISDN Parameters / Protocol. More
details: see page 52.
x
x
Enter the remote number to dial, using the keypad, and press the
x
Hang up with the
key.
If more than one B channel is involved due to the coding algorithm used, you must enter a
second number, then
, and so on. If the last dialled number is adequate, just confirm by
pressing
without typing a number again.
key to release the connection (you must confirm by pressing
SCOOP 5 - User Manual
again).
3