1
Operating Instructions EROCSCAN Pro
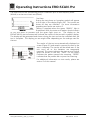
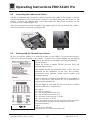
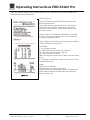
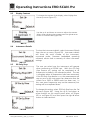
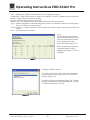
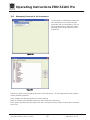
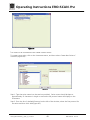
The LED located between the left and right buttons indicates status of the probe:
Green: Probe has been detected and
instrument is ready to test
Flashing Yellow: AutoStart in process
Solid Yellow: Testing in progress
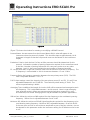
The status indicator bar on the Tymp•OAE Probe will indicate the pressure sweep of the pump
by showing a sweeping sequence of lights.
Note: When idle (not testing) the probe status LED should be solid green. If the
LED is yellow when idle then the probe has not been detected by the
instrument. Power off the instrument, check the probe connection, and turn the
instrument on again to detect the probe. The status LED should now be solid
green.
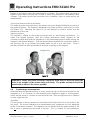
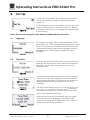
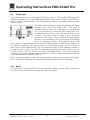
The external probes are preferred by most users when conducting OAE measurements
for infants, young children, and other difficult to test populations such as individuals
with multiple handicaps. The external probe allows the user to insert the probe tip into
the ear and then wait until the patient is quiet before starting the test. The internal
probe may be preferred by some users for fast OAE testing of cooperative parents.
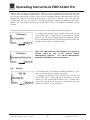
Installing the External Probe
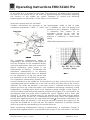
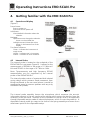
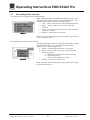
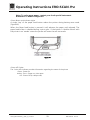
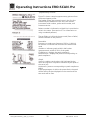
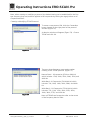
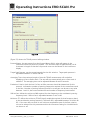
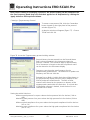
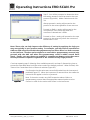
1. Turn off the ERO•SCAN Pro and insert the external probe
plug into the socket on the top of the ERO•SCAN Pro
(Figure 12). The plug will fit only in one direction. The
arrows on the plug should face the display on the
ERO•SCAN Pro.
2. Turn on the ERO•SCAN Pro. The status indicator on the
external probe keypad will be solid greed indicating the
ERO•SCAN Pro has detected the presence of the remote
probe. Disconnect and reinsert the connector if the
status indicator on the probe is not illuminated or is
yellow rather than green. To return to using the internal
probe of the handheld, turn the instrument off,
disconnect the external probe and power up the
instrument again.
Figure 12
Note: Misalignment of the plug and socket when installing the remote probe
can cause damage to the pins in the plug and the pin receptacles in the socket.
The plug and socket should be visually inspected prior to each installation of the
remote probe. If damage is observed, contact your Special Equipment
Distributor or MAICO Diagnostic.
Geba_EROSCANPro_E_REV_a_12a.docx
12
850 041/2 01/12