1
Getting Started with HyperLynx Thermal
HyperLynx Thermal Basics
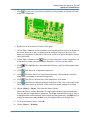
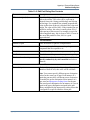
5. Click
. As you move your mouse around the viewing window, the board will rotate
around in 3 dimensions.
6. Right-click on the board to lock the board in place.
7. Choose View > Reset to set the board back to its original position. Notice the bottom of
the screen shows the x and y coordinates on the location at the tip of the arrow, the
number of components on that side of the board, and the total power dissipation for this
side of the board.
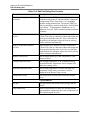
8. Choose View > Power or click
.This view shows the power of each component. All
of the analysis output views are available from the View Menu and the toolbar.
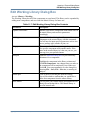
9. Click
. This highlights the components that will have a specific refined output in the
.loc file.
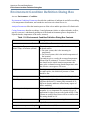
10. Click
. This shows the component temperature.
11. Click
.This shows the excess component temperature - the amount by which the
component is exceeding its maximum temperature.
12. Click
. This shows a thermal map of the temperature of the board.
13. Click
. This shows the thermal gradients on the board. This view is especially useful
for locating stress points in the board, which can lead to board warpage or cracking.
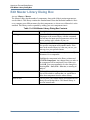
14. Choose Library > Master. This opens the Master Library.
The master library contains thousands of components with their pertinent parameters.
You can add new components by parameter. The Copy command allows you to copy a
component under a different name while keeping the same parameters, and Edit lets you
change the parameters. Save to disk saves your updated library on the hard drive.
15. To close the Master Library, click OK.
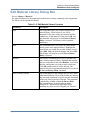
16. Choose Library > Working.
HyperLynx Thermal User Manual, V9.0
11