1
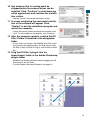
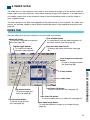
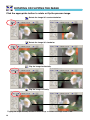
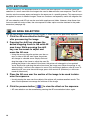
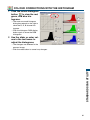
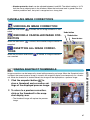
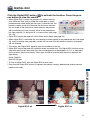
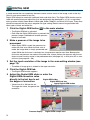
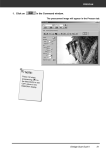
6 Click a neutral area of the image to be
defined as the gray point.
• The area used to calibrate the gray point must be neutral.
The brightness level of the area is not important, but if the
area has a definite colour, the image will not be colour balanced correctly.
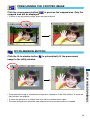
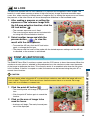
7 Press the apply button
to show the
change on the histogram.
• Click the reset button to cancel all corrections.
SETTING THE WHITE AND BLACK POINT VALUES
The white and black-point values are set to 255 and 0 for each RGB level. These values can be
changed. Changing the white and black-point values allow the calibration of an image with no true
white or black. This is an advanced image-processing tool.
STANDARD SCAN UTILITY
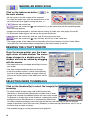
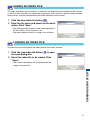
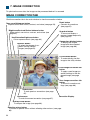
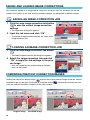
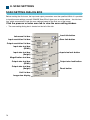
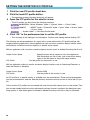
1 Double-click on either the white-point or
black-point button to activate the point-valuesetting dialog box.
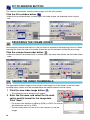
2 Input the new white-point or black-point values. Click “OK”.
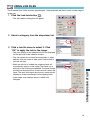
• With the point-value-setting dialog box open, the mouse
pointer can be used to measure the colour of any point on
the prescan image.
• Press the shift key (Windows) or command key
(Macintosh) to display the CMYK levels in the RGB display.
• The RGB display shows the original values for the scanned
image on the left and the current values for the image on
the right.
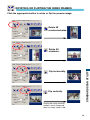
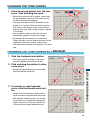
3 Calibrate the image following the steps in
white, black, and gray point corrections section.
59