1
Check
I
for
leaks
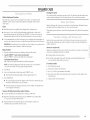
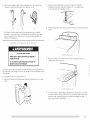
Turn on the water faucets and check for leaks. A small amount
washer. YOu will drain this in a later step.
NOTE: Replace
hose installation
[f you connect
m
Periodically
Drape the power
2.
Remove
might enter the
inlet hoses after 5 years of use to reduce the risk of hose failure.
or replacement
dates for future reference.
m
1.
of water
only one water
hose, you must cap off the remaining
inspect and replace
hoses if bulges,
1.
Slide the washer
to its final
location.
2.
Push on upper
3.
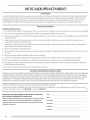
I.ower right front foot until it contacts the floor. By hand, firmly rotate foot as much as an
additional
1 V2turns. The other three feet have been preset at the factory.
4.
Check
front panel to be sure the washer
is on its rear feet.
Record
water inlet
port.
[<inks, cuts, wear, or leaks are found.
cord over the console.
any cardboard
used to move washer.
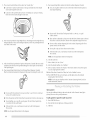
Beaded tie .<rap
3.
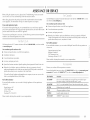
Fasten the drain hose to the laundry
See view A or B.
A
tub leg or drain standpipe
with the beaded
B
tie strap.
the levelness
of the washer
by first placing
C
If the washer faucets and the drain standpipe are recessed, put the formed end of the drain
hose into the standpipe. Tightly wrap the tie strap around the water inlet hoses and the
drain hose. See view C.
level
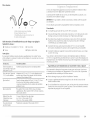
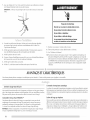
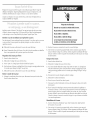
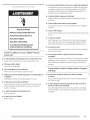
Excessive Weight Hazard
Use two or more people to move and install washer.
Failure to do so can result in back or other injury.
One washer foot has been installed at a different height on your new washer. The other
three feet were preset at the factory. Properly leveling your washer will minimize
noise
and vibration.
10
the #ont.
a level on the lid near the console.