1
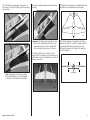
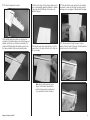
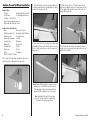
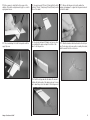
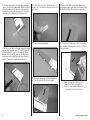
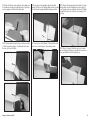
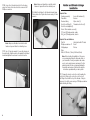
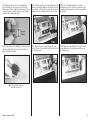
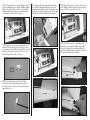
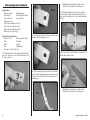
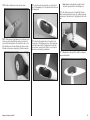
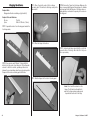
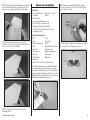
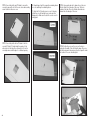
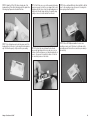
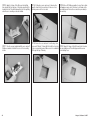
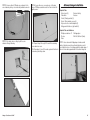
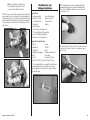
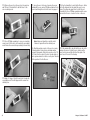
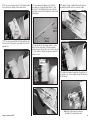
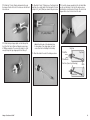
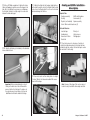
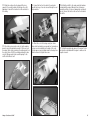
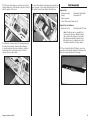
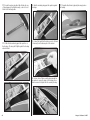
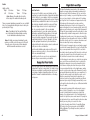
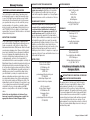
10. Sand the 5/16 x 5/16 (8mm x 8mm) end of the 12. Test fit the servo cover in the opening in the wing. hardwood block. This will be the end glued to the plate in the It may be necessary to notch the cover support rail to clear the hardwood block. Use a rotary tool and sanding drum to following step. Prepare two blocks at this time. carefully notch the rail, being careful not to sand the wing sheeting or remove too much material from the rail. 14. Use a drill and 5/64-inch (2mm) drill bit to drill the holes for the mounting screws. Use care not to enlarge the holes any larger than the drill bit. 11. Use 5-minute epoxy to glue the square end of the hardwood block to the servo cover using the marks made in step 18. Allow the epoxy to fully cure before proceeding. 15. Use a #1 Phillips screwdriver to run a servo mounting screw in each of the holes to cut threads in the surrounding wood. Remove the screw before proceeding to the next step. Hangar 9 Sundowner 36 ARF 13. Position the servo between the two blocks. Leave a small gap between the servo and servo cover so vibrations from the airframe are not transferred directly to the servo. Use a pencil to mark the locations for the two servo mounting screws on the blocks. 23