1
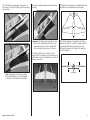
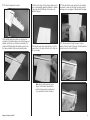
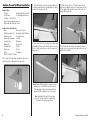
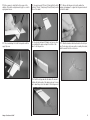
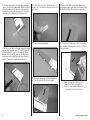
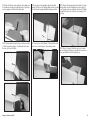
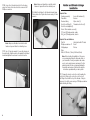
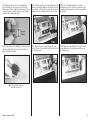
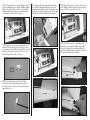
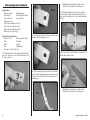
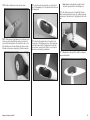
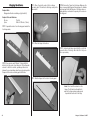
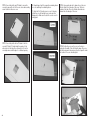
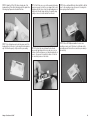
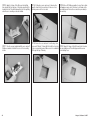
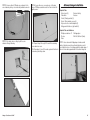
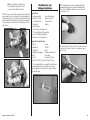
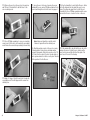
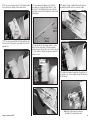
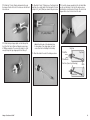
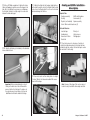
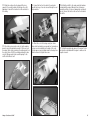
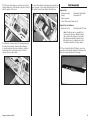
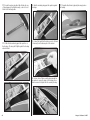
10. Once the alignment has been set, use a felt-tipped pen to mark the outline of the fuselage on the stabilizer. This will allow easy repositioning as it will be removed in the following step. 11. Remove the stabilizer from the fuselage. Note the direction of the top and bottom of the stabilizer indicated by the tape placed on it back in step 1. Slide the elevator into the slot, noting the top and bottom to match that of the stabilizer that was just removed. 12. Slide the stabilizer back into position in the fuselage. Leave the stabilizer so the exposed wood can be accessed. 14. Slide the stabilizer in position. Use a paper towel and rubbing alcohol to remove any epoxy that oozes out when the stabilizer is positioned. 13. Mix 1/2 ounce (15mL) of 15-minute epoxy. Use an epoxy brush to apply the epoxy to the exposed wood on both 15. Before the epoxy can cure, make sure to check the the top and bottom of the stabilizer. Make sure not to get any alignment of the stabilizer as described in steps 7 through epoxy on the elevator. 9. It is very important the stabilizer is positioned correctly before the epoxy begins to cure, as it will be difficult to readjust its position after the epoxy has cured. Do not proceed until the epoxy has fully cured. 16. Remove the wing panels and wing tube at this time. Place a T-pin in the center of the six hinges removed in step 1. This will center the hinges evenly in the stabilizer and elevator. Note: Read steps 12 through 15 before mixing any epoxy. You must be able to complete these steps before the epoxy begins to cure. 8 Hangar 9 Sundowner 36 ARF