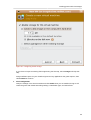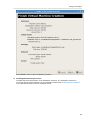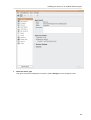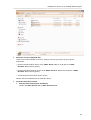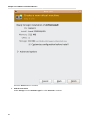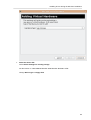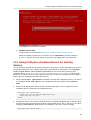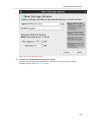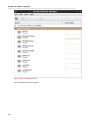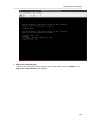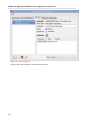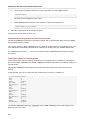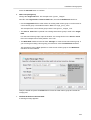
1
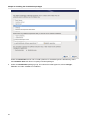
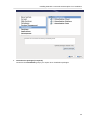
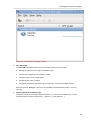
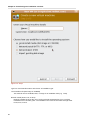
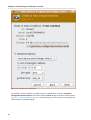
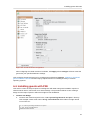
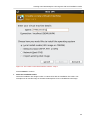
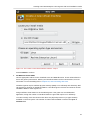
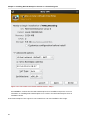
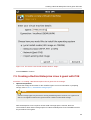
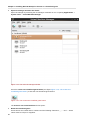
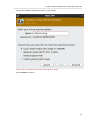
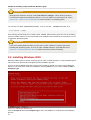
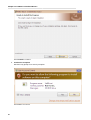
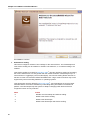
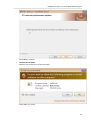
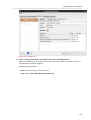
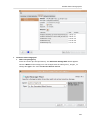
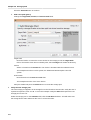
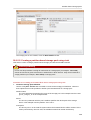
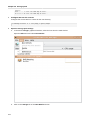
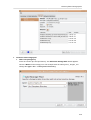
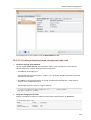
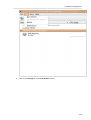
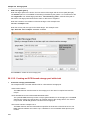
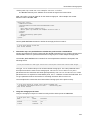
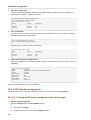
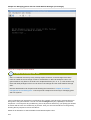
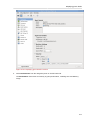
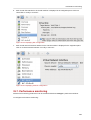
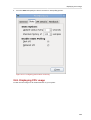
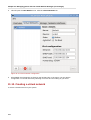
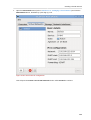
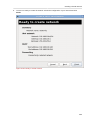
Chapter 26. Storage pools
Press the Yes button to proceed to erase all data on the storage device and create the
storage pool.
4.
Verify the new storage pool
The new storage pool will appear in the list on the left after a few seconds. Verify the details are
what you expect, 465.76 GB Free in our example. Also verify the State field reports the new
storage pool as Active.
It is generally a good idea to have the Autostart check box enabled, to ensure the storage pool
starts automatically with libvirtd.
Close the Host Details dialog, as the task is now complete.
26.1.4.2. Creating an LVM-based storage pool with virsh
•
222
# virsh pool-define-as guest_images_lvm logical - - /dev/sdc libvirt_lvm /
dev/libvirt_lvm