1
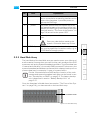
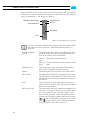
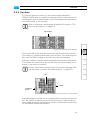
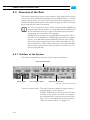
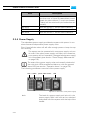
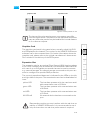
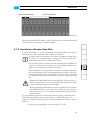
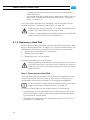
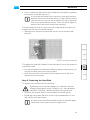
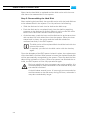
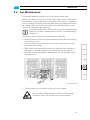
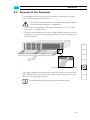
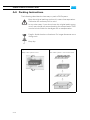
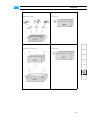
Maintenance Then, unlatch the disk carrier of the defective hard disk by pressing the opener of the disk carrier (1). If you press the opener but it does not move and the lever does not come out of the disk carrier, it might still be locked. Use a hex key to turn the lock a quarter turn left in the direction of the open padlock symbol. Once you feel a slight resistance, the disk carrier should be unlocked. This will cause the lever to come out of the disk carrier so that it protrudes from the rest of the disk carriers. Take the lever and pull the hard disk carrier out of the hard disk array (2): 1 2 3 Figure 5-2: Pulling out the lever This takes the hard disk installed in the disk carrier out of the system’s interfaces inside. Once the interface connections inside the system are severed, you can pull the disk carrier out of the system. Now the hard disk is removed from the system and it has to be replaced in the next step. 4 5 A I Step 2: Replacing the Hard Disk To replace the hard disk do the following: Significant environmental changes, for example, altitude, voltage, temperature, shock, vibration, etc., can damage a hard disk. Therefore, handle hard disks with great care. Unscrew the screws that fix the hard disk to the disk carrier. Exchange the broken disk with a new one and assemble it in the disk carrier with the screws. It is best to use the same brand and type of hard disk again. Otherwise a loss of performance might occur. 5-5