1
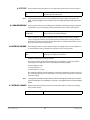
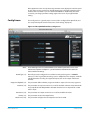
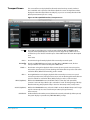
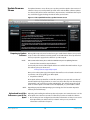
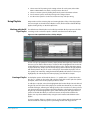
IP Address Type (50.1):
Use to change the IP address for Ki Pro Quad. When an IP address is entered and the
Apply button is clicked, the IP address will change and the browser will display a
“redirecting to...” page which should send the browser to the new IP address entered.
(You can also click on a link on the redirect page.
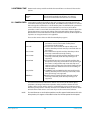
IP Address (50.2):
Enter an IP address compatible with your LAN (if you have one). When networking Ki Pro
Quad to a computer, this is the IP address that you’ll enter in the computer’s web browser
to bring up the Ki Pro Quad’s web interface from its embedded web server. You must also
click the “Apply” button to update Ki Pro Quad with the IP address entered here.
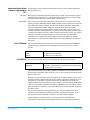
Netmask (50.3):
Enter a subnet mask compatible with your LAN (if you have one). You must also click the
“Apply” button to update Ki Pro Quad with the changed information entered here.
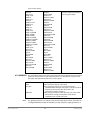
Default Gateway (50.4):
Enter the IP address for your LAN’s gateway/router (if you have one). You must also click
the “Apply” button to update Ki Pro Quad with the changed information entered here.
Update Network Settings:
Pressing this button requests Ki Pro Quad to update its IP information with that entered
on this screen.
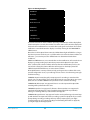
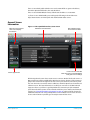
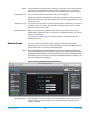
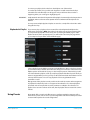
Available Ki Pros:
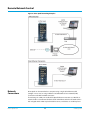
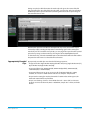
The Network panel lists Ki Pro devices present on the same local LAN as the current Ki Pro
Quad (see note below). The serial numbers of all Ki Pros on the LAN, or their defined
“System Names” (see parameter 50.5) are listed—and clicking on any of these will bring
up the Status screen of that Ki Pro device. The Ki Pros on the network may be running
different software versions, so screens may look different. As a rule, it’s wise to have all
your Ki Pro devices running the most current software and the same version. Also,
without a properly configured default gateway (whether you have a router/gateway or
not), the discovery feature on the Network panel may not work.
NOTE:
Ki Pro devices shown are cached and may not reflect the realtime state of all Ki Pros on the
LAN. As Ki Pros are added or removed from the network they may take awhile to appear in the
Network listing. If, at any time you want a current view of the network (clearing the cache and
showing the realtime state), click the up arrow in the top right corner of the Network panel
twice to refresh (close and reopen) the list.
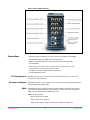
Playlists Screen
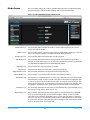
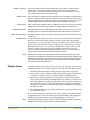
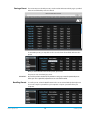
The Playlists All Clips screen allows you to see at a glance all of the clips on the currently
selected media. You can also create new playlists consisting only of the clips you choose:
1. Click add (+) below the Playlists heading and enter a name for the new playlist.
2. Next, to select a clip to be added to a playlist, double click the clip in the All Clips list
to select it; you will know when it is selected as it will be highlighted in blue.
3. Next, click and drag the selected clip onto the playlist. You can also drag multiple
clips by clicking the check boxes to the left of the names of the clips you want to copy
before dragging them. Note that during the click and drag operation, a filmstrip icon
will appear (only in some browsers) and it will disappear once you have added the
clip to the list. You will also see the Playlist being added to highlighted in green when
the addition is made.
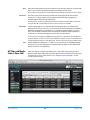
4. After adding the clips you want, click the playlist name to open the playlist; the clips
you added will be listed.
You can reorder the clips if you want by simply double -clicking to select them and then
dragging them to the order you want. Note again that while clicking and dragging, the
filmstrip icon will appear and the operation will highlight the order in green.
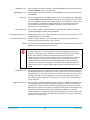
NOTE:
Ki Pro Quad v5.2
You can only bring clips up in order, not down in order. This means that if you want a clip to
appear later in the order, you need to move the other clips before it.
71
www.aja.com