1
Installation (continued)
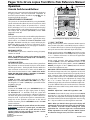
ON/OFF SWITCH CONNECTION
Electrical Installation
This section explains how to connect your DrillMaster to
a 12-volt power source.
NOTE: The DrillMaster must be connected to a 12volt DC negative ground electrical system.
The DrillMaster system uses P/N 14360 power
switch to turn the system on. If the P/N 14360
power switch is used, simply mount the switch
bracket as shown on page 4, and plug the
connector into the mating cable from the console.
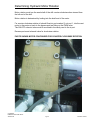
POWER/BATTERY CONNECTION
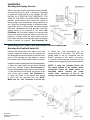
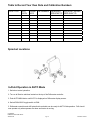
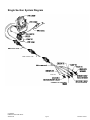
Locate the power cable for the DrillMaster and route
to the battery. When routing cable to console, avoid
areas where the cable may be subjected to abrasion
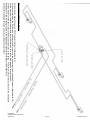
or excessive heat. Attach the BLUE wire (ground)
to a screw or bolt on the equipment frame. See
Illustration 3. Be sure there is a good metal-to-metal
contact. Connect the ORANGE wire to the positive
battery terminal. Connect the power to the DrillMaster
console by plugging the 2-pin W/P tower on the power
cable into the 2-pin W/P shroud of the display console.
Installation (continued)
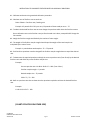
Attaching the Speed Sensor
The DrillMaster uses an
Speed Sensor. The speed
connects to the 3-pin M/P
the yellow tie (on the back
Astro 5 GPS
sensor always
connector with
of DrillMaster).
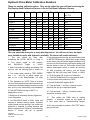
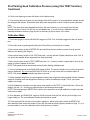
Speed calibration entered into the
controller must be 0.189.
CrustBuster
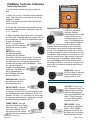
DrillMaster Quick Start Guide
346-001150
Pg 5
Revised 11/2010