1
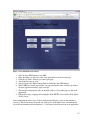
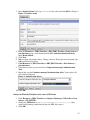
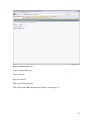
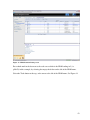
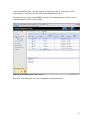
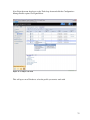
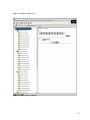
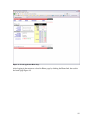
4. select the thread group
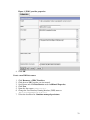
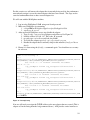
5. right click “add -> config element -> Http Request Defaults”
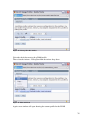
6. Protocol – enter “HTTP”
7. Server name – enter “p24n23”
8. Path – leave blank
9. Port number – enter “80”
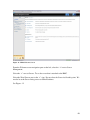
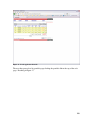
10.select workbench
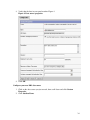
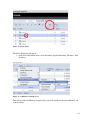
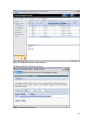
11.right click on workbench and add the Http proxy: add -> non-test elements -> Http
Proxy Server
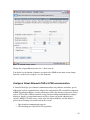
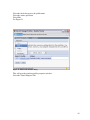
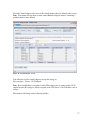
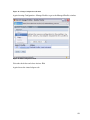
12.Port field - Enter “9090”
13.Target Controller – click on the drop down and select “test plan > thread group”
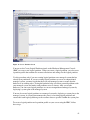
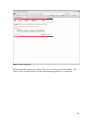
14.Click the “add” button in “Patterns to include”. This will create a blank entry.
15.Enter “*”
16.Click the “start” button at the bottom
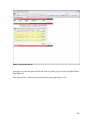
17.Start Internet Explorer, but do not close Jmeter.
As a general tip, it is a good idea to set the homepage for your browser to a blank page. This
way, it reduces the number of unwanted pages Jmeter records during the session. It is a good
idea to try the proxy with different sites and get comfortable with different filtering patterns.
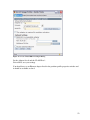
18.From the tool bar, click “tools -> internet options”. This should bring up the options.
19.Select the “connection” tab
20.Click “lan settings” button near the bottom.
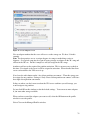
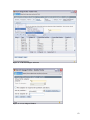
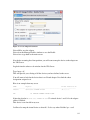
21.On the connections tab, check “Use a proxy server for your LAN”. The address and port
fields should be enabled now.
22.Address – enter “Localhost” or the IP address of your system
23.Port – enter “9090”.
24.Click “ok” button
25.Click “ok” button again. This should return you to the browser
26.In the “Address” bar at the top, enter thae address of your server here we will use the trade
application “http://p24n23/trade/app” and hit the “enter” key.
27.Click on a few links on Jmeter's page.
28.Close internet explorer and bring up the Jmeter window.
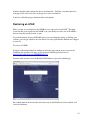
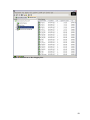
Reviewing the Test Plan
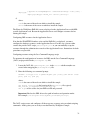
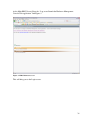
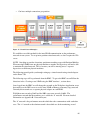
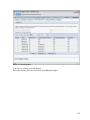
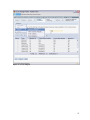
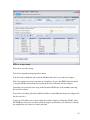
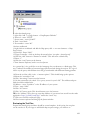
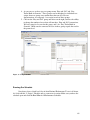
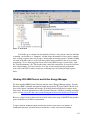
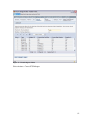
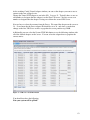
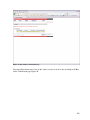
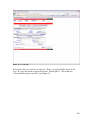
Expand the thread group and there should be several samplers. At this point, the test plan
can be saved as is. If you forget to add default http request settings, you will have to
64