1
Recording
Preparation before recording
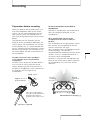
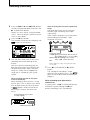
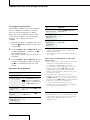
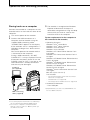
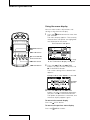
Example: Placement when recording a
musical performance using the built-in
microphones
For best results, place the recorder about 2
to 3 m (6.56 to 9.84 ft) from the sound
source. Referring to the characteristics of
the built-in microphones, adjust direction of
the recorder and the angle of the
microphones.
On the characteristics of the built-in
microphones
The built-in microphones are unidirectional.
You can change the directions of the
microphones.
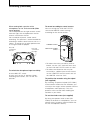
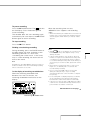
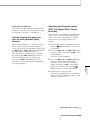
When rotating both capsules of the
microphones to 90˚ to face inside (X-Y
position)
The microphone on the right gathers sound
from the left; the microphone on the left
records sound from the right.
You can obtain natural and profound stereo
sound recording. This position is
recommended for recording close-by sound
sources such as a solo performance or a
session of two or three people.
However, if you place the microphones too
close to the sound source, please note that
the microphones may catch the sounds
reversely.
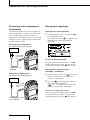
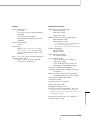
Sound source
Approx. 2 to 3 m
(6.56 to 9.84 ft)
Place the recorder with its
front side facing upward and
the built-in microphones
pointing at the sound source.
Records
sound from
the right.
Records
sound from
the left.
Continued on the next page
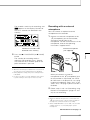
Tripod (not supplied)
21
Recording
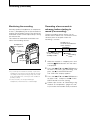
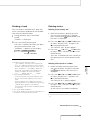
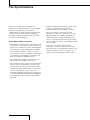
When you position the recorder, place it so
that the microphones point to the sound
source. For accurate recording of left and
right sources, place the recorder with its
front side facing upward (see the illustration
below).
The placement of the recorder and the
direction of the microphone depend on the
sound source, the microphone, the settings
of the recorder, etc. It is recommended that
you try recording with the recorder in various
positions and settings after referring to the
illustration below and the characteristics of
the microphone.