1
AXIS 70/70U User’s Guide
Basic Installation
Assigning an IP Address to the AXIS 70/70U
Follow the instructions below to set the IP address from the Control Panel.
Important!
•
This section can be ignored if you are using DHCP, RARP or BOOTP, as the IP address is set automatically (DHCP is the preferred method for Windows NT networks, as it automatically sets
some of the parameters as well).
•
A valid and unused IP address must be acquired from your Network Administrator.
•
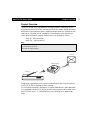
Connecting a PC-AT keyboard directly to the mini-DIN connector on your AXIS 70/70U provides a convenient method for managing the unit, and setting the IP address during system
start up. The administrator can choose to disallow this function from the Administration
pages. Please make sure that the AXIS 70/70U power supply is disconnected before connecting
the keyboard.
•
The IP address for your product can also be set using the AXIS IP Installer (included on the
AXIS Network Product CD), or the ARP, RARP BOOTP or DHCP methods.
Please refer to the AXIS 70/70U/7000 User’s Manual for further details.
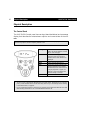
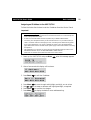
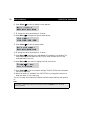
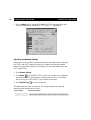
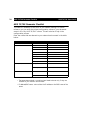
1. Power up the AXIS 70/70U and press Menu
when this message appears:
2. After a few seconds this display will be shown:
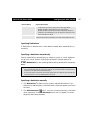
3. Press Select
4.
5.
6.
7.
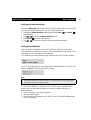
Press Menu
Use
Press Select
Press Menu
to edit the IP address:
to move through and highlight each digit, one at a time.
to increase or decrease each highlighted digit, as required.
to confirm the changes.
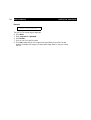
to display the default router address setting:
11