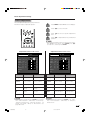
1
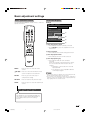
Useful adjustment settings
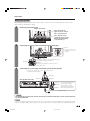
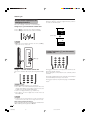
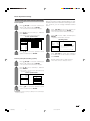
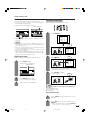
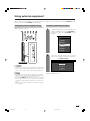
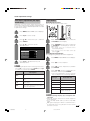
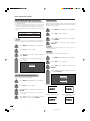
Fine Sync. adjustment (PC input
mode only)
Ordinarily you can easily adjust the picture as
necessary to change image position using Auto Sync.
In some cases, however, manual adjustment is needed
to optimise the image.
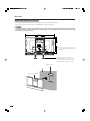
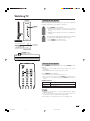
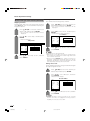
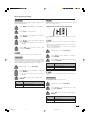
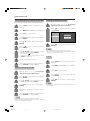
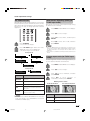
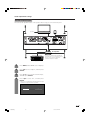
Input Select
Selecting input source
Can use for selecting the input source.
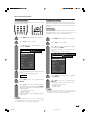
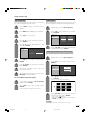
1
Press MENU and the MENU screen displays.
2
Press c/d to select “Setup”.
3
Press a/b to select “Fine Sync.”, and then
press ENTER.
1
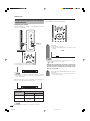
Press TV/VIDEO on the remote control unit
or TV/VIDEO on the Display.
4
Press a/b to select the specific
adjustment item.
2
Press TV/VIDEO on the remote control unit
or TV/VIDEO on the Display to select the
input source.
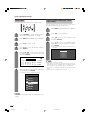
H-Pos.
[90]
–
+
V-Pos.
[39]
–
+
Clock
[90]
–
+
Phase
[20]
–
+
Reset
5
Press c/d to adjust the item to your
desired position.
NOTE
• For resetting all adjustment items to factory preset values,
press a/b to select “Reset”, press ENTER, press c/d
to select “Yes”, and then press ENTER.
Selected item
• An image from the selected source
automatically displays.
• You can also select the input source by
pressing a/b.
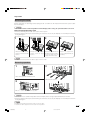
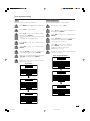
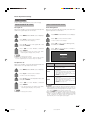
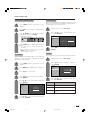
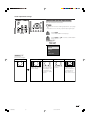
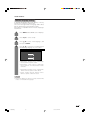
Selecting input signal type
For setting the signal type of external equipment.
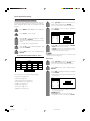
1
Press MENU and the MENU screen displays.
2
Press c/d to select “Option”.
3
Press a/b to select “Input Select”, and then
press ENTER.
4
Press a/b/c/d to select a signal type you
want to set, and then press ENTER.
Description
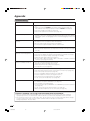
H-Pos.
Centres the image by moving it to the left or
right.
V-Pos.
Centres the image by moving it to the up or
down.
Clock
Adjusts when the image flickers with
vertical stripes.
Phase
Adjusts when characters have low contrast
or when the image flickers.
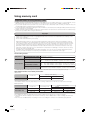
• If the selected signal type is incorrect, an image
does not display or no colour image displays.
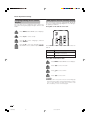
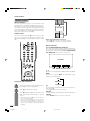
Input type
Selectable item
INPUT 1
CVBS, RGB*
INPUT 2
Y/C, CVBS
INPUT 3
COMPONENT, Y/C, CVBS, RGB*
INPUT 4
AUTO, S-Video, Video
INPUT 5
PC digital, PC analogue,
AV digital, AV analogue
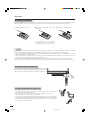
NOTE
• If no (colour) image displays, try to change the other
signal type.
• Check the operation manual of the external equipment
for the signal type.
• Use 21 Pin Euro SCART cable if you wish to input RGB
signal.
* RGB signal is displayed in INPUT 1 and INPUT 3 but is
not applicable when using RCA/21 Pin-Euro SCART
conversion connector.
LC-65G5X(E)-h
49
05.10.17, 7:42 AM
49