1
popch4.fm5 Page 10 Tuesday, August 26, 1997 5:00 PM
6
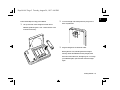
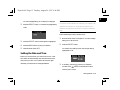
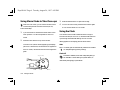
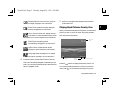
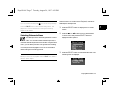
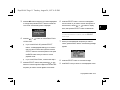
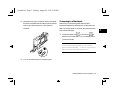
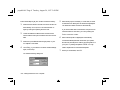
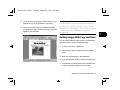
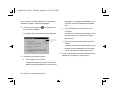
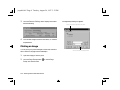
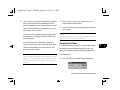
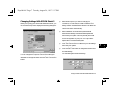
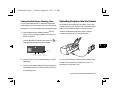
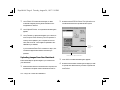
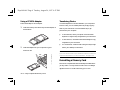
Select the picture you want and click Get Photos to
transfer the picture. Or, click Select All to transfer all
the pictures.
7
Click Erase Photos if you want to remove the pictures
from your camera.
8
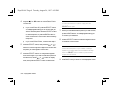
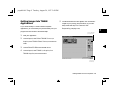
If necessary, click Close to exit the Photo!2 screen and
return to your application.
You see the picture or pictures in the work area.
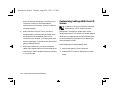
Getting Images That You Can Import
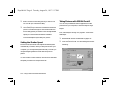
Most methods of transferring images from the camera save
your pictures as JPEG files. If your word processor or other
application doesn’t support the JPEG format, you have to
convert the files one by one. Or, you can use the export
feature of EPSON Photo!2 to automatically convert the files
as you transfer them.
4-10 Getting Photos Into Your Computer
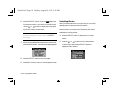
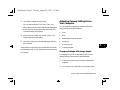
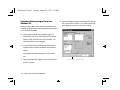
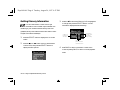
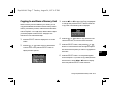
Follow these steps to transfer and export your pictures with
EPSON Photo!2:
1
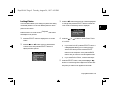
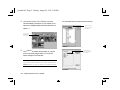
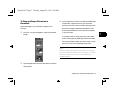
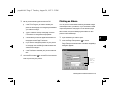
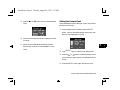
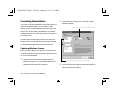
Start your EPSON Photo!2 software. Under
Windows 95, click Start, and then point to Programs,
PhotoPC 600, EPSON Photo!2.
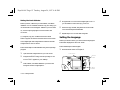
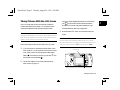
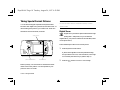
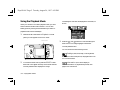
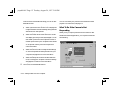
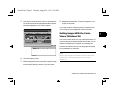
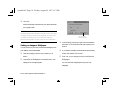
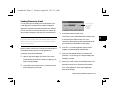
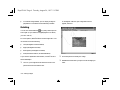
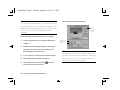
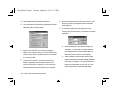
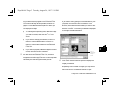
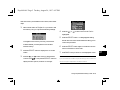
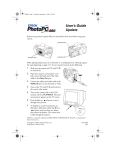
You see a screen like the one below. (If you see a Setup
screen that says The Camera Is Not Responding, see
page 4-12.)
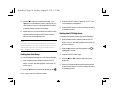
Click to transfer and
convert picture(s).