1
Popch7.fm5 Page 4 Tuesday, August 26, 1997 5:15 PM
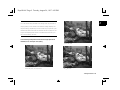
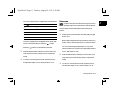
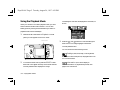
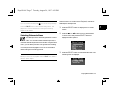
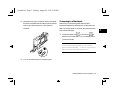
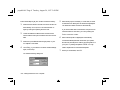
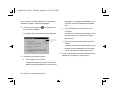
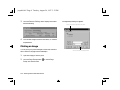
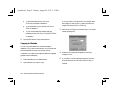
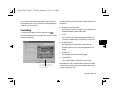
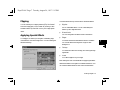
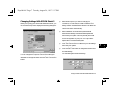
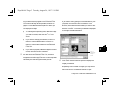
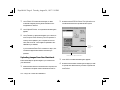
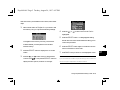
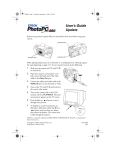
The preview window shows your image with the original
view on the left and the corrected image on the right. If you
want to adjust the division between the original and edited
image, click and drag the triangle below the image. You can
also zoom in on your image to see more detail.
◗
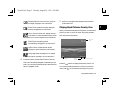
Click Apply to make your changes on the current “tab.”
Your edited image becomes your new original and the
slide indicators move to the center of the range.
◗
Click OK to save the changes you made on all the
Corrections tabs and return to the main screen.
◗
Click Cancel to cancel the changes on the current tab
and return to the main screen.
3
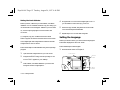
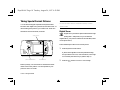
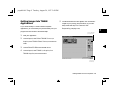
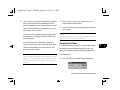
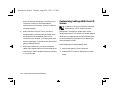
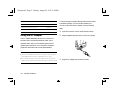
selected area
Cropping
If you want to save only part of your image, use the crop
function to cut out the rest of the image. Follow these steps:
1
Open the image you want to modify.
2
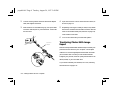
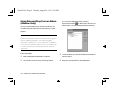
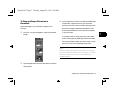
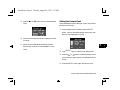
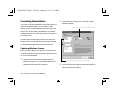
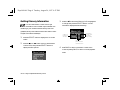
Click one of the selection tools on the left side of your
screen.
7-4 Editing Images
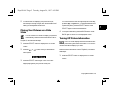
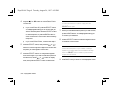
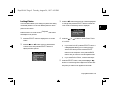
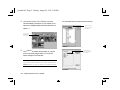
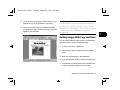
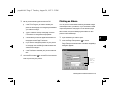
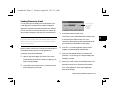
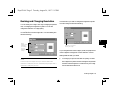
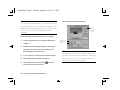
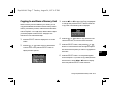
Click and drag the mouse over the area you want to save.
A dashed border indicates the area you selected.
4
If you change your mind about which part of the image
to crop, simply click anywhere in the image and repeat
step 3.
5
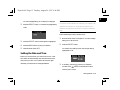
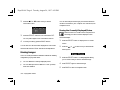
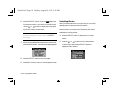
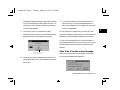
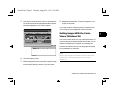
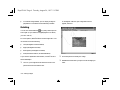
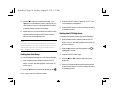
Click the Crop tool
or choose Crop from the Image
menu. The part of the image that was outside the dashed
line disappears.