1
Turning the DV Camera On/Off
Setting the Date and Time
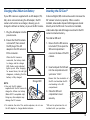
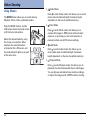
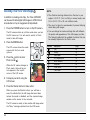
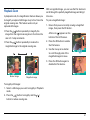
Press the POWER button to
turn the DV camera on.
Set the date and time on your DV camera before you
use the DV camera for the first time. The DV camera
can also add the time and date to your picture.
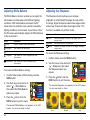
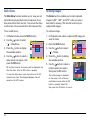
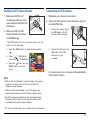
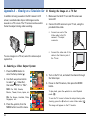
When the DV camera is
turned on, the green Mode
indicators start blinking and
will stay on steady in the
Video mode, and the LCD
screen is activated as well.
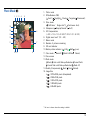
POWER button
Video indicator
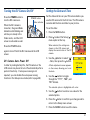
Press the POWER button
again to turn off both the DV camera and the LCD
screen.
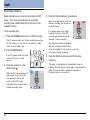
DV Camera Auto Power Off
In order to prolong battery life, the DV camera or the
LCD screen may be set to turn off automatically after a
period of inactivity. If auto power saving is not
required, you can disable the auto power saving
function in the Setup menu mode (refer to page 49).
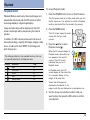
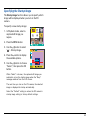
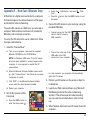
To set the date:
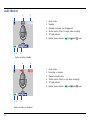
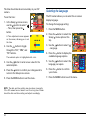
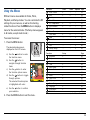
1. Press the MENU button.
2. Press to select the Setup ( )
menu option at the top.
When selected, the settings are
shown on the LCD screen and
display the current state of the DV
camera.
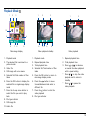
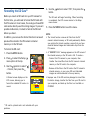
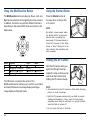
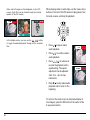
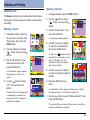
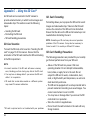
3. Use the / button to select “ ”
– Date, then press the button.
A Date adjustment screen appears
on the screen, allowing you to set
the date.
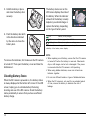
4. Use the / button to toggle
through the “YYYY”, “MM”, and
“DD” formats.
The selected option is highlighted with color.
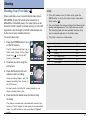
5. Use the / button to enter a new value for the
selected option.
6. Press the button to confirm your changes and to
return to the Setup menu screen.
7. Press the MENU button to exit the menu.
21