1
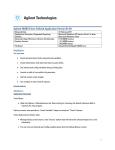
Preparing the Test
What Are We Testing?
The quickest way to familiarize yourself with the instrument is to set up a
short test. You can test the BER on a cable. All you need for this test is an
APC/RPC cable for the data port connection and an APC/RPC-SMA adapter
cable to connect the PG clock output to the ED clock input.
Setting up the Pattern Generator
First we need to set up the pattern generator.
To keep things simple, let's set up LVDS logic
levels for both the data and clock output.
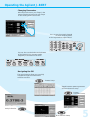
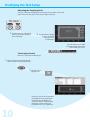
1 Reset the instrument.
Preset
Local
USB
This sets all voltages
and parameters to
default values.
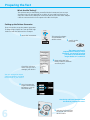
2 Switch to the
PG Setup.
The pattern generator's
output ports are always active.
Therefore, you must be sure that
your device can handle these
ranges before you connect it.
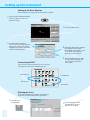
3
Now select the logic
family LVDS for the data
and clock port.
Check the values to
make sure you can’t
damage your device.
You can change the output
signal parameters according
to the needs of your device.
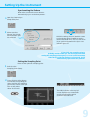
4
Let's increase the
signal's data offset
by 100 mV. Just tip
the offset field,
Use the Up and Down buttons below
the knob to position the cursor.
6
5 and turn the fine-tuning
knob until you have the
desired value.