1
Authorizing Plug-ins Using a
License Card
License Cards are specific to each plug-in or software option. You will receive the appropriate License Cards for the plug-ins that you purchase.
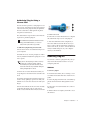
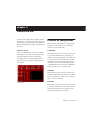
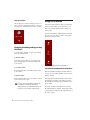
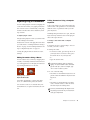
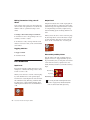
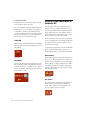
License Cards have a small punch-out plastic
chip called a GSM cutout.
iLok with License Card
The authorization steps in this section must be
repeated for purchased plug-in.
For additional information about iLok technology and authorizations, see the electronic PDF of the iLok Usage Guide.
To authorize a plug-in using a License Card:
1 Insert the iLok into an available USB port on
your computer.
6 Follow the on-screen instructions to complete
the authorization process for each plug-in.
7 After the authorization has completed, re-
move the GSM cutout from the iLok. (If you
have to remove the iLok from the computer to
remove the cutout, be sure to re-insert the iLok
in any available USB port on your computer
when you are finished.)
2 Launch Pro Tools. You are prompted to autho-
rize any installed unauthorized plug-ins or software options.
If you are already using a demo version of
the plug-in or software option, launch
Pro Tools before you insert the iLok, then
insert the iLok into any available USB port
when prompted by Pro Tools.
3 Follow the on-screen instructions until you
are prompted to insert the License Card into the
iLok.
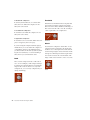
4 Separate the GSM cutout from the larger pro-
Removing Plug-ins
If you need to remove a plug-in from your system, follow the instructions below for your
computer platform.
Windows
To remove a plug-in:
1 From the Start menu, choose Settings > Con-
trol Panel and double-click Add or Remove Programs.
tective card by pulling it up and out with your
thumb. Do not force the cutout down with your
finger.
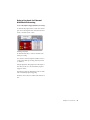
2 Select the plug-in from the list of installed ap-
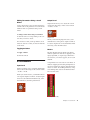
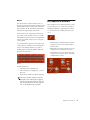
5 Insert the GSM cutout into the iLok. Visually
3 Follow the on-screen instructions to remove
verify that the metal portion of the cutout
makes contact with the iLok’s metal card reader.
the plug-in.
plications and click the Change/Remove button.
4 When removal is complete, click OK to close
the window.
Chapter 2: Installation
7