1
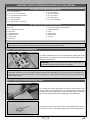
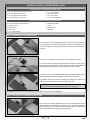
Step 3: Aligning and installing the Vertical stabiliser
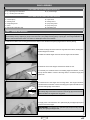
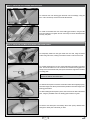
q Remove the rudder from the stabiliser and set it aside for now. Discard the temporary hinges that are used for packing.
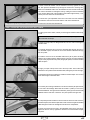
q Push the stabiliser down into the mounting slot, making sure that the rudder
post is pushed firmly into the slot in the back of the fuselage.
IMPORTANT When pushing the stabiliser into the mounting slot, be careful
not to crack the rudder post at the base of the stabiliser.
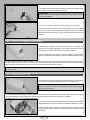
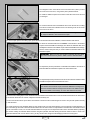
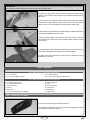
q Draw a line on each side of the stabiliser where it meets the top of the
fuselage.
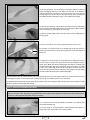
q Remove the stabiliser and carefully cut away the covering material from
below the lines you drew. Cut away the covering material from the bottom of
the stabiliser and from the sides and the front of the rudder post, too.
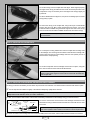
q Glue the stabiliser into place, using 30 minute epoxy. Double-check the alignment once more before the epoxy sets up, then wipe
away any excess epoxy and use pieces of masking tape to hold the stabiliser in place until the epoxy has fully cured.
Step 4: hinging the elevator halves
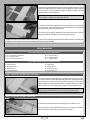
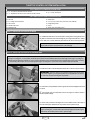
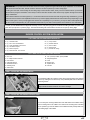
q Hinge the elevator halves to the horizontal stabiliser, using the same
techniques that you used to hinge the ailerons to the wing. Each elevator half
is hinged using two hinges and the tip of each elevator counter-balance should
be even with the tips of the stabiliser. There should not be more than a 1/32"
(.7mm) wide hinge gap.
IMPORTANT Remember to counter-sink the hinge pivot points and apply
machine oil or petroleum jelly to the hinge pivot points to keep from gluing the
hinges solid. Use the same techniques that you used for the aileron hinges.
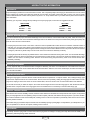
Step 5: sealing the elevator hinge gaps
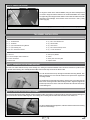
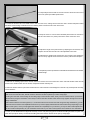
q Cut two pieces of white covering material 1/2" (13mm) wide and 8-3/8"
(213mm) long.
q Seal the elevator hinge gaps, using the same techniques that you used to
seal the aileron hinge gaps.
Page 14