1
Page 34
Exercise continued
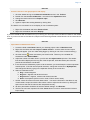
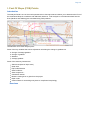
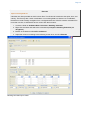
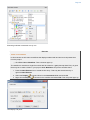
The part inside the closed polygon is now deleted. You may repeat the three last points in order to
delete some more. The changes you make are not performed on the dataset directly, but as a local
copy. In order to store the changes in the Edit points and lines menu, click the Execute button at
the bottom. A new copy of the data set is stored in the folder.
1. Click the Cancel button in the Edit points and Lines menu.
2. Clear the display window again.
3. Display the edited isobaths and confirm that the unwanted parts have been removed.
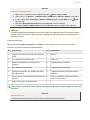
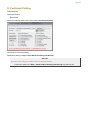
When you have made changes to the project it is always a very good idea to store them. Click the save
button
in the project tool bar in order to save your project.
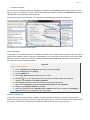
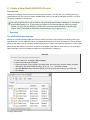
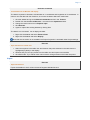
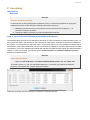
Ordinarily, a 2500m isobath generated on a surface (as a contour) contains very many points, often thousands
of points. It is recommended to snap a subset of these data to create a much smaller dataset containing fifty to a
few hundred more or less critical points to use as input for the 2500m + 100M generation. For this we use the
command Red Snapper
.
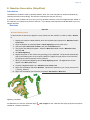
Exercise
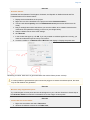
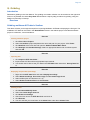
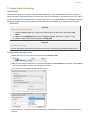
Use the Red Snapper to prepare for generating the 2500m + 100M
1. Blank the screen
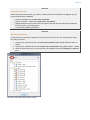
2. Select the 2500m isobath dataset in the project.
3. Double click the
4.
5.
6.
7.
8.
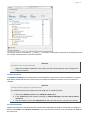
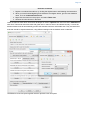
Red Snapper... command which can be found in the Editing folder under
Shared commands in the Toolbox. The
Red snapper dialog will appear.
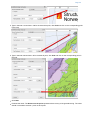
Click the Display selected data with green points button. This will display the points that the
coastline is generated from.
Click Start snapping.
Keep your cursor at a distance outside the 2500m isobath, and observe how nearest point is
snapped when clicking the left mouse button.
Continue snapping a representative "critical points" dataset from your original 2500m isobath.
When you are finished digitizing click the End snapping button. The red snapper line should
appear in workspace or folder according to your settings.
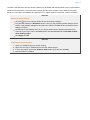
Tip
Observe that in the
Red Snapper command (and also in the Tools > Quick Digitizer) you may
enhance functionality by enabling more keys. E.g. m can be used to snap all points up to next picked
point. This is probably not needed here.
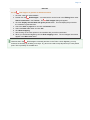
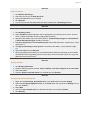
Exercise
Generate 2500m isobath + 100M constraint line
1.
2.
3.
4.
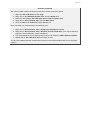
Display the 2500m isobath which you created in the previous exercise.
Right-click the isobath and select the command Generate 100M Line.
The new line should now be available under 1. Maritime Lines/100M Lines.
Display the 100M line.
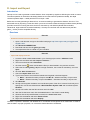
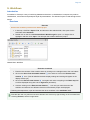
When you have made changes to the project it is always a very good idea to store them. Click the save
button
in the project tool bar in order to save your project.