1
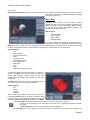
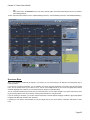
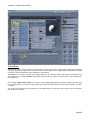
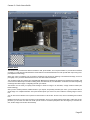
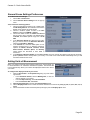
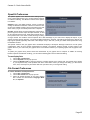
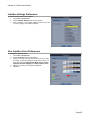
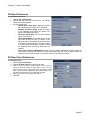
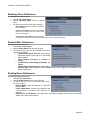
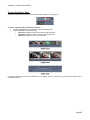
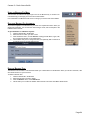
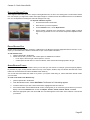
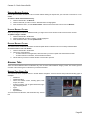
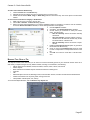
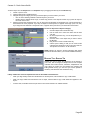
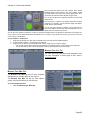
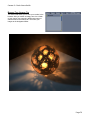
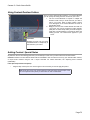
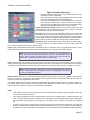
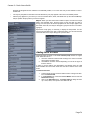
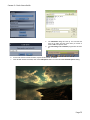
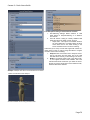
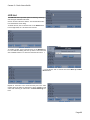
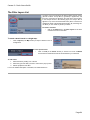
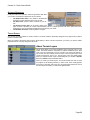
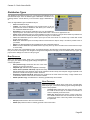
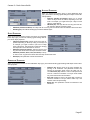
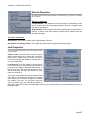
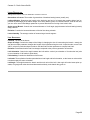
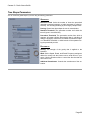
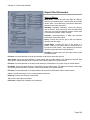
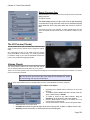
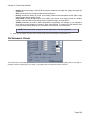
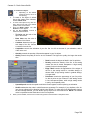
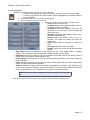
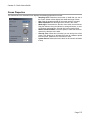
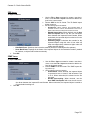
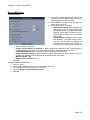
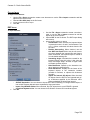
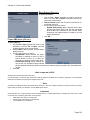
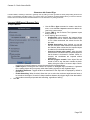
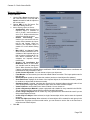
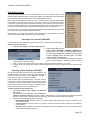
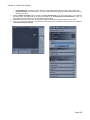
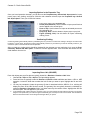
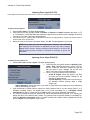
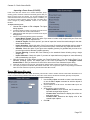
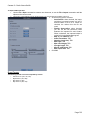
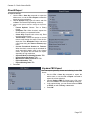
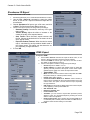
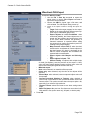
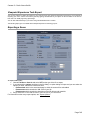
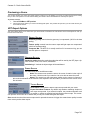
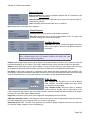
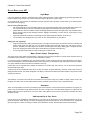
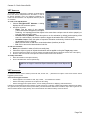
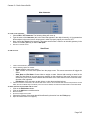
Carrara 8 – Basic Users Guide Importing Poser Lights (LT2/LTZ) Poser light files are imported with Poser scenes, but you can also import them individually. To import a Poser light file: 1. 2. Choose File > Import. The Open dialog appears. Poser camera files are typically located in Runtime > Libraries > Camera subfolders and have a .LT2 or .LTZ extension. Locate the folder that contains the light file that you want to open. Highlight the file and click Open. The Poser Light Import dialog appears. 3. Carrara prompts you to select the path to the Runtime folder that your light appears in. Click the file selector button to locate the path to the runtime folder. 4. When you return to the Poser Light Import dialog, click OK. The light appears in your scene. NOTE! Poser lights may need some adjustment in intensity, color, and falloff after importing, and the amount of adjustment can also vary due to changes between Poser versions. Start by reducing the light intensity to 25-30% of the original intensity and then increase or decrease as necessary to get the de sired affect. Importing Poser Props (PP2/PPZ) To import a Poser character file: 1. Choose File > Open or File > Import. The Open dialog appears. 2. Poser prop files are typically located in Runtime > Lib raries > Prop subfolders and have a .PP2 or .PPZ ex tension. Locate the folder that contains the prop file that you want to open. Highlight the file and click Open. The Poser Prop Import dialog appears. 3. 4. 5. Check or uncheck the following options as desired: • Create IK Targets: Check this option if you want to import the inverse kinematic settings for the character’s hands and feet. • Convert Skinning: Converts the Poser skinning to the standard Carrara skinning using a single weight map. • Import Deformers: Check this option if you want to import deformers (magnets or wave deformers) that are attached to your figure. Click the Browse for Folder button to select your Poser Runtime Path. If you are running Poser 7 on a Windows operating system, the default path to the Poser executable file is C:\Program Files\e frontier\Poser 7. After you select the file click OK to return to the Poser Character Import dialog. You may be prompted to locate the geometry file that is associated with the prop file. If so, a dialog will display the name of the OBJ file that it needs. The geometry files are typically located in a subfolder be neath the Runtime > Geometries folder, in a folder named by the content creator. Highlight the OBJ file and click Open. The prop appears in your scene. Page 130