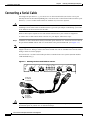
1
Chapter 3
Removing and Installing Port Adapters
Port Adapter Removal and Installation
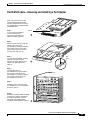
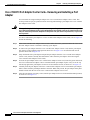
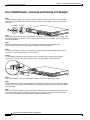
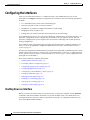
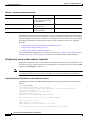
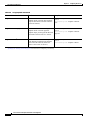
Cisco 7401ASR Router—Removing and Installing a Port Adapter
Step 1
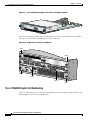
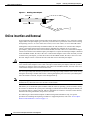
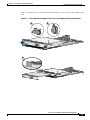
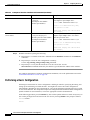
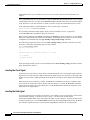
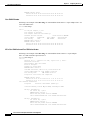
To remove the port adapter, use a number 2 Phillips screwdriver to loosen the screw on the port adapter
latch. Rotate the port adapter latch until it clears the faceplate of the port adapter. (See A.) The latch can
rotate 360˚.
Unlocked
Locked
D
R
LE S RIE M
AB ELL AR R
EN RX C RX C X ALA
A
R
TX
RX
ENHANCED
ATM
Step 2
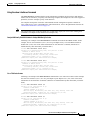
Pull the port adapter from the router, about halfway out of its slot. (If you remove a blank port adapter, keep
the blank port adapter for use in the router if you should ever remove the port adapter. The port adapter slot
must always be filled.)
Step 3
With the port adapter halfway out of the slot, disconnect all cables from the port adapter. After
disconnecting the cables, pull the port adapter completely out of the chassis slot.
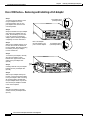
Step 4
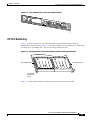
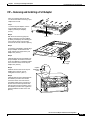
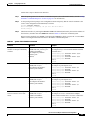
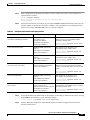
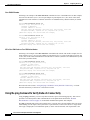
To insert the port adapter, locate the port adapter slot guides inside the Cisco 7401ASR router. They are
near the top, and are recessed about 1/2 inch. (See B.)
Caution
The port adapter must slide into the slot guides under the chassis lid. Do not allow the port adapter
components to come in contact with the system board, or the port adapter could be damaged.
B
AB
LE
D
R
LS RIE M
CEL CAR AR
RX RX RX AL
TX
RX
ENHANCED
ATM
57643
EN
Step 5
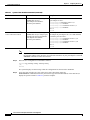
Insert the port adapter in the slot guides halfway, and then reconnect the port adapter cables.
Step 6
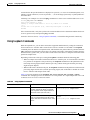
After the cables are connected, carefully slide the port adpater all the way into the slot until the port adapter
is seated in the router midplane. When installed, the port adapter input/output panel should be flush with the
face of the router.
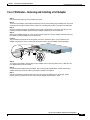
Step 7
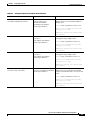
After the port adapter is properly seated, rotate the port adapter latch to the upright locked position and use
a number 2 Phillips screwdriver to tighten the latch screw. If needed, loosen the latch screw to rotate the
latch over the port adapter. Finish the installation by tightening the latch screw.
PA-T3+ Serial Port Adapter Installation and Configuration
3-10
OL-3505-03