1
Rivers Database Version 3 (2007)
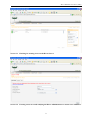
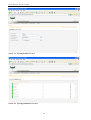
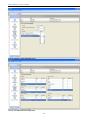
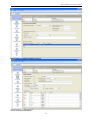
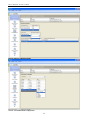
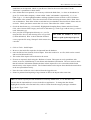
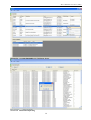
• Enter the value/s or items for filtering from the “Values” column according to the operator that has
been selected. This can be achieved by simply typing in letters or numbers or by clicking on the “….”
box that appears under “Value”. This opens a list of all items/values already entered into the database.
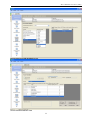
Select the required values or items that appear in the “available fields” box on the left of the screen.
Click the right arrow button or double click on these values or items to move them to the “selected
fields” box on the right hand side of the screen. Click “done” to return to the “Define Filter Criteria”.
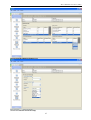
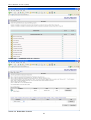
• Click the "Add Filter" button. To add additional filters, repeat the steps outlined above.
• To delete a filter click the corresponding "Delete" button.
• Click “next” to continue to the “Display Report” screen or “back” to return to the previous screen.
Note: If filtering is done using “River” only those rivers that have sites on them will be returned. If a
river is not visible in the filter form, it means that no data exists for that site.
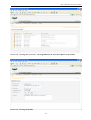
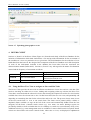
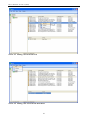
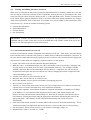
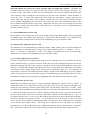
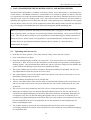
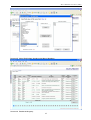
In the “Query Output” Screen (Screen 6.6):
The final screen displays the query result as specified in the filtering criteria previously selected. The
query can be:
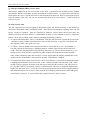
• saved by clicking the “save query” button available under “file” in the menu to the left of the screen
and then accessed via the “open query” button at a later stage, or
• exported to Excel as a CSV file, click “Export to Excel (csv) under “File” in the menu to the left of the
screen. (Hint: it is better to select “Save As” rather than “Open”.)
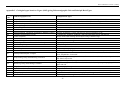
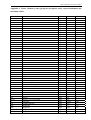
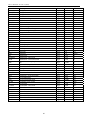
A specific query example is provided in Appendix 2 and a list of Frequently Asked Questions (FAQs)
is provided in Section 6.4 to assist with any problems that may be encountered when installing or
using the Query Master.
42