1
Mirror/Monitor Install:
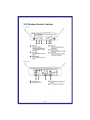
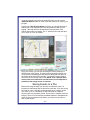
Now mount the mirror/monitor over the existing mirror. A good place to run
the wires for the mirror is to tuck them in the front edge of the headliner
and down the passenger side pillar post. The covers on most modern pillar
posts snap in to place and are easily removed with plenty of room. Run the
wires down along the door edge and under the glove box to the location of
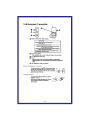
the DVR. Connect the RED spade connector to your 12v power source and
the BLACK to your chassis ground. Now plug the yellow RCA connector
labeled ‘Video1’ to the yellow RCA female connection of the 2 leads
coming from the A/V Output port. The Audio out is generally not used as
audio playback is not usually needed in the vehicle. If you wish to use the
audio out, you will need to connect to a powered speaker with volume
control.
Camera Install:
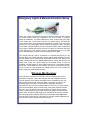
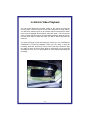
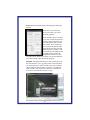
Mount the camera high and just right of center on the windshield. This is
normally to the rear and slightly to the right of the rear view mirror/monitor,
as in the picture below. Leave just enough room for the camera to rotate
180 degrees in either direction. The mount is an excellent commercial
mount and is very strong when properly attached to the windshield. Make
sure the glass is clean and press in on the center button of the mount.
While pressing in, pull the locking lever up and over the center button to
lock it in place. Now run the included cable along side the mirror/monitor
cable to the DVR. Plug the BNC video connector from the camera to the
BNC video-in cable from the DVR. Run the power leads from the camera to
the power distribution point you are using with RED going to your 12v
power source and the BLACK to the chassis ground.
-7-