1
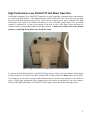
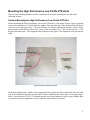
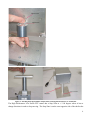
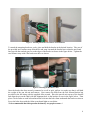
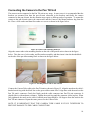
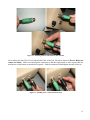
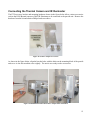
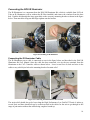
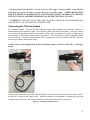
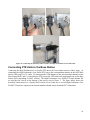
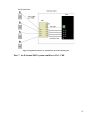
Home or 0 Position as seen in the figure above. The camera should be mounted so that the Home or 0
Position is pointed at the area of interest and the Stop Zone is pointed away from the area of interest.
**Important: The Home or 0 Position hole should point to the center of the surveillance area to
avoid Stop Zone related horizontal (pan) movement delays.
For a rooftop mount, simply place the assembled unit on a piece of plywood or directly onto the roof,
then drive wood or sheet metal screws (#8 or smaller) through the four screw holes along the perimeter of
the Pedestal Mount Adapter Plate and into the mounting surface as shown in the figure below.
Figure 6: Mounting the Pedestal onto a Surface
Wall or Pole Mounting the Pan-Tilt Unit
The wall/pole mounting bracket provided in the kit is used for attaching to a vertical surface like a wall or
pole. It is recommended to mount the bracket to the vertical surface first, then mount the pan tilt unit and
the camera to the bracket, though this order is not necessary. To mount the bracket to a wall simply hold
the bracket on the desired location and drive wood or sheet metal screws through the four holes as seen in
the figure below.
7