1
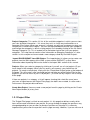
selected in order to access the authorisation function.
Applicants must obtain the relevant authorisations before selecting “Print for Submission”.
This is a different order to the process used for ink signatures. Applicants need to get the
authorisations first so that all the authorisations are included in the form which is then saved
and printed. If the applicant makes changes to the data after authorisation, the authorisation is
invalidated, so there is no possibility of applicants submitting forms that have been changed
after authorisation.
1.9.3.1 Electronic Authorisations Step by Step
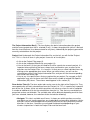
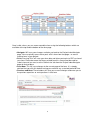
1. On the main navigation page, the applicant selects the relevant form that requires
authorisation from the links under Project Forms, e.g. the REC form (do not select the
full project dataset as this does not have an authorisation function).
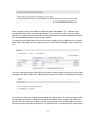
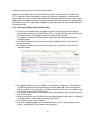
2. The applicant selects the “Authorisations” tab on the right hand side of the main
navigation page.
3. The tab will indicate all the authorisations that are required for that form, for that
particular project.
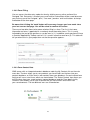
4. The applicant selects the relevant type of authoriser (e.g. sponsor) and clicks the
“Request” button.
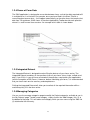
5. The applicant enters the e−mail address of the authoriser and clicks "Send Request".
The tab now shows the authorisation that has been requested. Please note that the
authoriser MUST have an account on IRAS and you must use the e−mail address that
they used to register their IRAS account.
6. The authoriser will receive an email from IRAS requesting that they authorise the form,
with a link to log in.
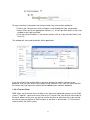
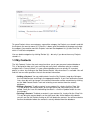
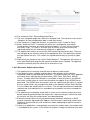
7. When the authoriser logs into IRAS the main project page will now contain a “Requests
for Authorisation” section below any projects they own.
8. The authoriser clicks “Open Request”.
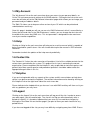
9. The main navigation page shows the relevant form. Only the “Authorisations” tab is
visible, showing details of the authorisation required.
20