1
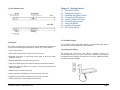
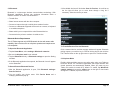
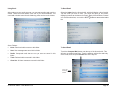
To Remove an External Drive Connected to the USB
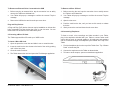
To Remove a Micro SD Card
1.
Before removing an external drive, tap the connection icon to safely
remove the Tablet to avoid data loss.
1. Before removing the card, tap the connection icon to safely remove
the Tablet to avoid data loss.
2.
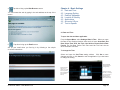
Your Tablet will pop up a message to confirm the removal. Tap the
message.
2. Your Tablet will pop up a message to confirm the removal. Tap the
message.
3.
Remove the USB device and close the port cover door.
3. Open the slot cover.
4. Push the card into the slot, until you hear a click sound, to release
the locks.
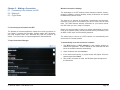
Plug and Play Devices
A Plug and Play (PnP) device does not require installation or drivers after
being connected. Plug the device, then “play” or use it at once. You can
remove the PnP device from the Tablet at any time.
5. Gently remove the card and close the slot cover door.
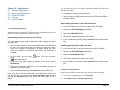
2.5 Inserting a Micro SD Card
To listen to music, voice recordings and video sounds in your Tablet,
plug in the earphones included with your Tablet or connect other audio
output devices such as external speakers. All earphones and speakers
can be connected through the headphone jack located at the top of the
Tablet.
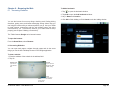
The Tablet supports Micro SD cards up to 32GB in size.
To insert a Micro SD Card:
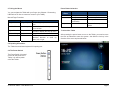
1. Open the protective cover door and slide it over to reveal the slots
2. Insert the card into the slot closest to the back of the unit by pushing
until it clicks into place.
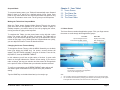
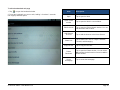
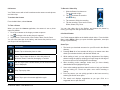
2.6 Connecting Earphones
1. Find the headphone jack on the top of the Tablet. See” Top / Bottom
Panel” to locate the jack.
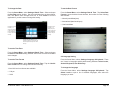
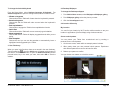
2. Connect the earphones to the Tablet as shown below.
3. Close the card cover door.
4. The Tablet detects the card and opens the File Manager application.
3. To listen to audio outputs, open an entertainment application.
A7 Internet Tablet – User Manual v1.3 Page 7