1
6. DOCUMENTATION – ZONES, DIMENSIONS AND DETAIL CALLOUTS
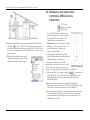
6.3 EDITING 3D ZONE SPACES IN THE
3D WINDOW
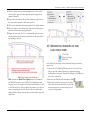
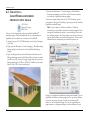
Please note: all the layers – except the
Zones layer – have been switched to
‘wireframe’ display to ensure better
visibility of the Zones in the 3D window.
Layer settings are also stored in the
pre-set views of the Navigator View
Map, so when you clicked the ‘3.6
Editing Zones in 3D’ view earlier, all the
model display pre-sets stored with this
view took place immediately.
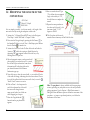
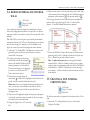
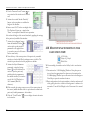
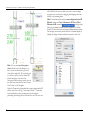
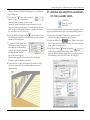
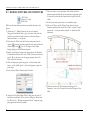
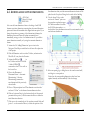
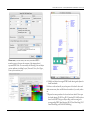
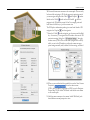
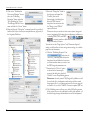
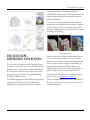
3 Make sure that the Zone Tool
is activated in the Toolbox and then
select the Edit > Select All Zones
command to select all
the zones in the project.
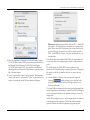
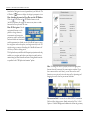
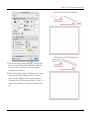
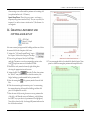
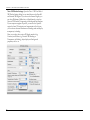
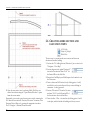
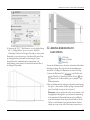
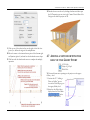
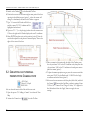
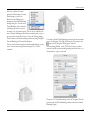
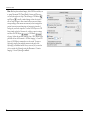
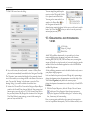
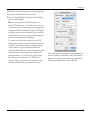
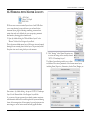
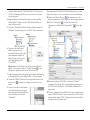
4 Select the Design > Trim Zone
command and then
check ‘Trim Top’ and also ‘Roofs’ and
‘Ignore holes’ to trim the Gallery zone
to the surface of the pitched roof.
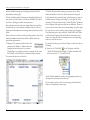
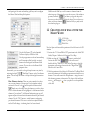
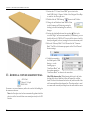
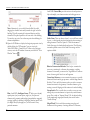
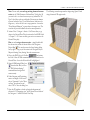
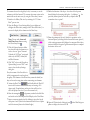
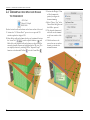
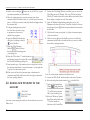
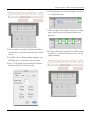
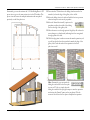
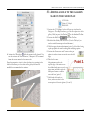
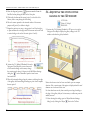
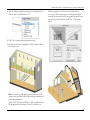
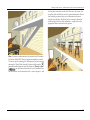
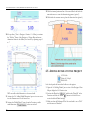
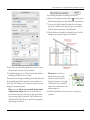
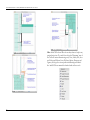
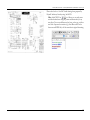
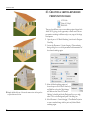
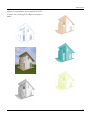
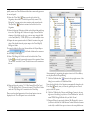
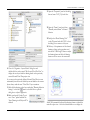
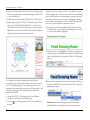
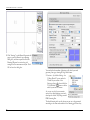
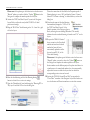
5 The result will be visible immediately in the 3D window – the top
of the 3D Zone of the Gallery has been adjusted to the internal
surface of the slanted roof.
AC10 Guide
Chapter 06_03.mp4
Watch Movie
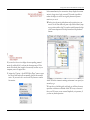
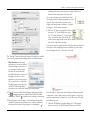
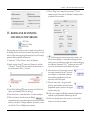
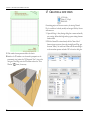
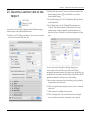
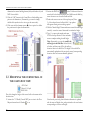
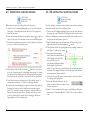
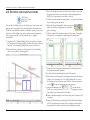
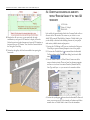
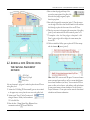
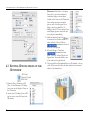
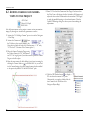
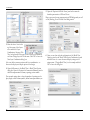
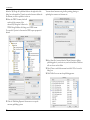
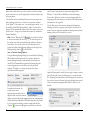
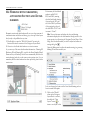
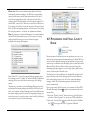
1 Open the View > Elements in 3D
View > Filter Elements in 3D dialog
box to turn on the display of Zones in
the 3D window.
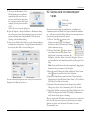
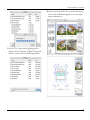
2 Activate the ‘6.3 Editing Zones in 3D’
pre-set view to view the Zones in the
3D window.
58
ArchiCAD 10 Interactive Training Guide