1
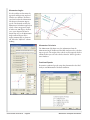
Easy Stairs and Ramps
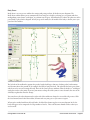
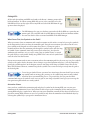
Since it can be difficult to draw
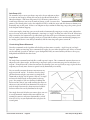
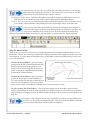
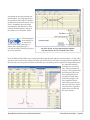
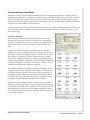
stairs in 3D, the Easy Stairs toolbox
was created. This is an easy-to-use
tool for building stairs, ladders, and
ramps in 2D and 3D. On the right
side of the toolbox are five predrawn templates from which you
choose a basic shape. In the upperleft of the toolbox are check boxes
where you select whether to draw
stairs or a ramp. If you have exact
measurements, you can enter values
for rise, tread and width of the steps,
as well as the height and length of
the stair case. Landings and different
railing types can be added with just
one mouse click.
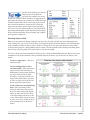
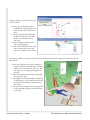
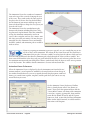
Once the stairs are placed in the
drawing, you may explode and modify them; the changes will appear in
3D without losing the 3D properties.
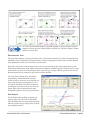
3D Wall Evidence
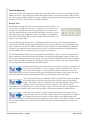
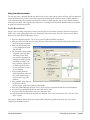
Since drawing and editing in The Crime Zone is always done in 2D, how can you show evidence, like blood
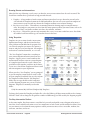
spatter on a wall or other vertical surface? The Wall Evidence tool, found in the 3DTools group of the left-hand
toolbox, gives you this ability. You can use Wall Evidence to show blood, fingerprints, bullet holes, and other evidence on walls, furniture, cabinets, and so on. It’s also great for making custom road signs or adding text to sides
of buildings and vehicles. You can even use it to place an image or digital photograph onto a vertical surface.
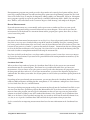
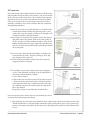
You can use Wall Evidence to show objects on the front of a counter, back of a sofa, or on
the side of a vehicle. First, create a small “false wall” where you want to show the evidence
by drawing a line and giving it a height and elevation. Show the evidence, text, etc. on the
false wall. When done delete the wall and the evidence, text, etc. will remain.
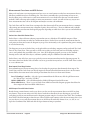
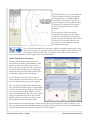
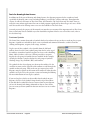
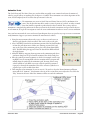
If you have digital photographs of the scene, you can use Wall Evidence to place the photo
on a vertical surface, such as placing a photograph of the front of a building on a wall. This
is also an easy way to show street signs or other landmarks that you have photographed.
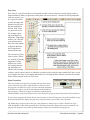
First create a “false wall” where you want to show the photograph by drawing a line and giving it a height and
elevation. Start the Wall Evidence command, select the wall and use the Import Image feature (on the File pulldown menu) to select the photograph and place it on the wall. You will only see the image when you go into the
3D Viewer!
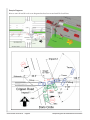
Drawing Stairs and Ramps in 3D
Crash Zone & Crime Zone - Page 49