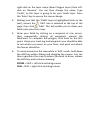
1
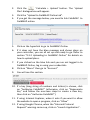
is no need to label your points. The more points you take, the more accurate the 3D area will be. 3.
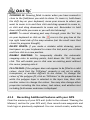
Download your altitude waypoints into FieldMAP as you would normally. 4.
It is a good idea to rename your new points ‘Altitude points’ or something similar so that you do not get mixed up and select the wrong layer for FieldMAP to use in its calculation. 5.
Now is a good time to save your work. 6.
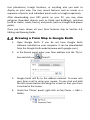
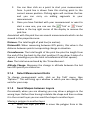
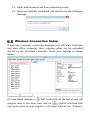
‘Right mouse click’ on the layer that you want to create a 3D surface area for (e.g.Fields). 7.
Select ‘Calculate 3D areas’. 8.
Select your altitude point’s layer to include in the calculation by clicking the checkbox next to the name, then click OK. 9.
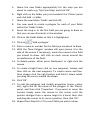
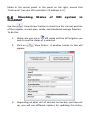
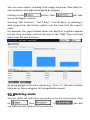
At this stage FieldMAP may take a while to calculate the 3D surface areas. Don’t worry, this is normal. Just wait for it to finish and you will be able to continue working like normal. 10. If you now click on your polygon layer for which you just created a 3D surface area calculation, you will see in the properties under the Measurements section that there is now a ‘Total Area’ and a ‘Total Area 3D’ property. 11. If you change the ‘Use 3D Areas?’ property to true, the areas displayed in the fields will be the 3D surface area that you just calculated. 12. Save your project to retain these areas. 6.1.3 Moving an Entire Layer
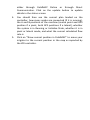
Due to the inherent inaccuracy of handheld GPS over time, you may find that if you record some fields one day, then go back and record them again next month, the whole field could have shifted by a few metres. This could also be a problem if you record some fields, then later go back and record more to find that they do not line up. To get around this problem, we have created the ‘Move entire layer’ tool.