Transcript
10mm
Quick Start Guide
3mm
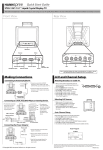
Other Models
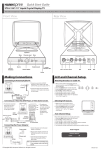
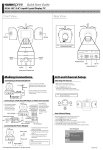
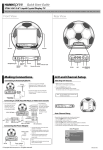
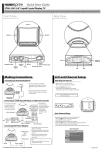
K206-10U1 9.6" Liquid Crystal Display TV
The information in this Quick Start Guide applies to all models shown below.
This guide is designed as a reference to help you start using your LCD TV quickly.
Please refer to the User's Manual for more detailed installation and safety instructions.
5mm
5mm
4mm
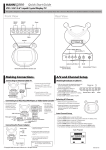
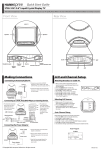
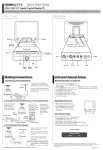
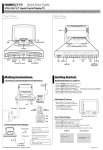
Front View
4mm
2.25mm
2.25mm
Rear View
3.5mm
3.5mm
3mm
Speaker
6.1mm
Speaker
DC 12V
4-IN-1
HEADPHONE
ANT
Volume
adjust
DC 12V
Source
Menu
Channel
select
Remote IR sensor
HEADPHONE
4-IN-1
4-IN-1
Power
indicator LED
DC 12V
ANT
Antenna/Cable TV
Headphone jack
Note: Do not unzip the plush cover. The plush
cover may only be removed by the qualified
personnel to service the product.
1mm
1mm
Making Connections
2mm
3mm
A/V and Channel Setup
3mm
3.5mm
Connecting to Antenna/Cable TV
DC 12V
4-IN-1
HEADPHONE
ANT jack
(VHF/UHF IN Jack)
DC 12V
HEADPHONE
4-IN-1
2. Connect the other end of the VHF/UHF
(Antenna) or CATV cable to the Antenna
or CATV socket.
ANT
Antenna/CATV
coaxial cable
6.5mm
6mm
6mm
3mm
2. The cables are
color-coded (black,
red, white, and yellow).
Connect each colorcoded cable to
the appropriate
connector on your
device.
VCR
VCD
DC 12V
4-IN-1
HEADPHONE
DVD
ANT
4-IN-1 A/V jack
Video game console
DC 12V
4-IN-1
HEADPHONE
B
ANT
R W
R
W
Y
6mm
4-IN-1 A/V cable
AV connectors
5.8mm
Connecting the Power Adapter
Power outlet 1. Connect the power cord to the power
4-IN-1
HEADPHONE
1. Make sure your TV is turned on and a
device such as a DVD player is connected.
HEADPHONE
ANT
6mm
AV
S-Video
CH
menu
SOURCE
VOL
VOL
CH
Auto Channel Setup
1. Press the MENU button to enter the OSD menu.
2. Use the channel buttons on the control panel to select the “TV Setting” menu.
3. Press menu again until the “Auto Program” feature is selected.
4. Press CH to select yes.
5. Press the MENU button.
6. Your television will begin automatically memorizing the available channels.
Auto Program
TV
Setting
SET
Power adapter
3. Insert the three-pronged plug at the
other end of the power cord into a
power outlet.
Copyright 2004, Hannspree California, Inc. All rights reserved.
MENU
SET
Channel
+-
AUTO Program
YES
DC-IN
5mm
TV
2. Press the SOURCE button on the
control panel to select different source signals.
TV/CATV channel number, AV or S-Video
appear on the screen.
AUTO
4-IN-1
CH
ANT
2. Plug the power adapter connector into
the DC-IN input jack on the rear panel
Power cord
of the TV.
DC 12V
SOURCE
VOL
Selecting A/V Sources
adapter as illustrated.
DC 12V
CH
VOL
Y
S-Video
connector
B
1. After you have made the appropriate power and source
connections, press the power button to turn on your television.
2. Press the SOURCE button to select TV.
3. Press the MENU button on the
menu
control panel to enter the OSD menu.
4. Press the CH button to select the TV setting.
5. Press the MENU button.
6. Press the CH or CH button to select TV/CATV.
6mm
Connecting to a VCR, VCD, DVD Player, or Video Game Console
1. The illustration presented
here shows you how to
connect your TV to a
VCR, VCD, DVD player
or video game console.
3.5mm
Watching Broadcast or Cable TV
1. Connect one end of the VHF/UHF
(Antenna) or CATV cable to ANT Jack
(VHF/UHF IN Jack) on the back of the
TV.
Antenna
ANT
2mm
NO
ENTER
MAD-001093
9.4mm
