1
Chapter 3
-
Quick Start
33
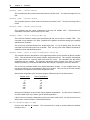
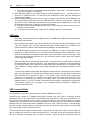
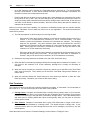
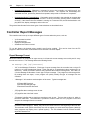
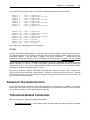
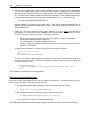
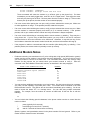
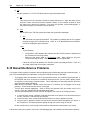
The controller “Master Report Mode” and the “IR Report Mode” must be enabled. You can verify
these are set by opening the “Status Screen” under the “Other” menu and clicking on the “Read
Status” button. You can enable these modes from the “Controller Command” screen under the
“Control” menu.
If these are properly set but the IR control screen still does not report IR signals being received, refer
to the trouble-shooting chapter.
12) Setting Up Your Remote To Control The Video Screens
The controller uses a set of 16 remote buttons (keys) to navigate through the built-in video screen system.
You have many options for setting this up, as detailed in chapter 14, Infrared Control. However, this section
provides a brief description of how to set a programmable remote to the controller's default setting.
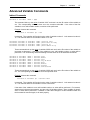
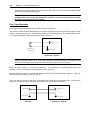
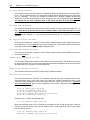
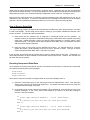
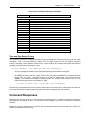
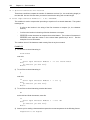
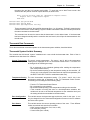
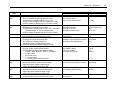
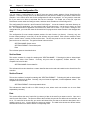
1) Open the video IR control configuration screen under the “Configure” menu. This screen displays
three sets of 16 remote key codes, each accessed through a set of “tabs” (you’ll probably never
need to use more than one of these three sets; the others allow different remotes to control the video
screen system).
The screen shows Key Codes and Description fields for each of the 16 buttons. It also shows the
Device Code (all keys should have the same Device Code, but each will have its own Key Code). In
order for a button on your remote to control the video screens, its Device Code and Key Code must
be entered in the appropriate fields, then loaded into the controller. Initially, these are set to the
controller’s default remote keys.
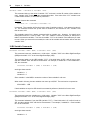
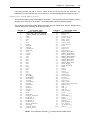
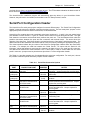
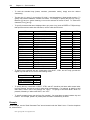
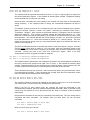
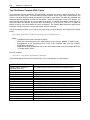
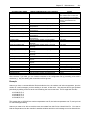
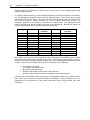
2) The default device is a Hitachi TV remote, but you can set any programmable remote to transmit the
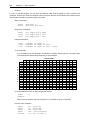
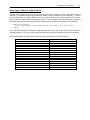
same signals. Look up the brand name of your programmable remote in the list below. The number
beside it is the code for the Hitachi TV. Set your remote to this code using the procedure in your
remote’s owner’s manual.
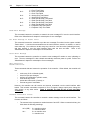
One For All
Control
Emerson
Gemini
RCA
Sony
Magnavox
Code 145
Code 145
Code 145
Code 100
Code 047
Code 31
Code 0030
If you have a different brand of remote, look up the code number for a Hitachi TV in your remote’s
owner’s manual. The manual will probably list several codes. Try each one until you find one that
works (testing it as described below).
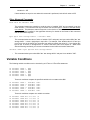
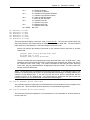
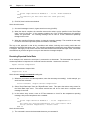
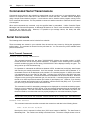
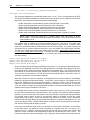
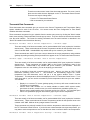
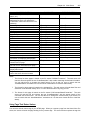
3) To test the 16 video screen control buttons, push each of the corresponding buttons on your remote
(one at a time!). The window’s simulated “LED” will blink and the Device Code and Key Code for the
received signal will be shown. Compare these to the codes listed beside each of the 16 functions. If
all 16 buttons match, you’re ready to control the video screens. If some of the buttons use different
Key Codes, you can change the entry to match the actual received Key Code. Some points to note:
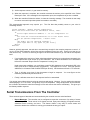
•
All signals from a specific remote should have the same Device Code. This code should
match the one shown in the Device Code text box.
•
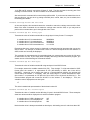
To assign a different remote key to a function, enter the signal’s actual Key Code in the text
box next to the function. If you make any changes, you will have to reload the schedule into
the controller.
•
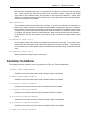
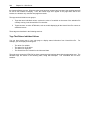
If your remote is transmitting different Device and Key Codes than those shown, it’s not a
problem. Just enter the actual Key Codes in the text boxes corresponding to each function,