1
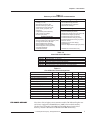
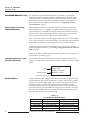
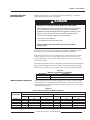
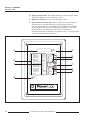
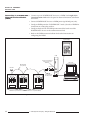
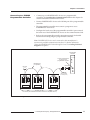
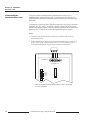
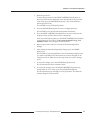
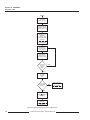
Chapter 4—Front Panel Operation 3. Enter the password. To enter the password, use the SELECT METER [Value] buttons to increase or decrease the displayed value until it reaches the password value. Then press the PHASE [Enter] button. (The circuit monitor’s default password is 0.) The red LED next to [CT Primary] flashes. 4. Press the PHASE [Enter] button to select a configuration item. The red LED next to the selected configuration item flashes. 5. Press the SELECT METER [Value] buttons to increase or decrease the displayed value until the desired value is displayed. In the case of the [Reset] items, use the SELECT METER [Value] buttons to toggle between Yes and No. See Resetting Demand, Energy, and Min/Max Values in this chapter for more on resets. 6. Repeat steps 4 and 5 until you’ve made all desired configuration changes. 7. After making all desired configuration changes, press the MODE button once. The red LED next to [Accept] flashes. The circuit monitor display reads No, and the red LEDs next to the items that you have changed are lit. Verify that only the LEDs next to the setup items you wish to change are lit. 8. To reject the changes, press the PHASE [Enter] button once. The circuit monitor returns to Meters mode. 9. To accept the changes, press the SELECT METER [Value] button to change from No to Yes. Then, press the PHASE [Enter] button. The circuit monitor goes through its restart procedure. This indicates that the changes have been made. 1998 Square D Company All Rights Reserved 43