1
15
FINAL CUT PRO 2: User Manual
5.
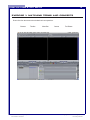
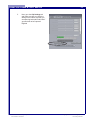
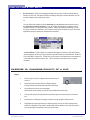
Scrub render by clicking and dragging through the top of the timeline marked with the
frames, second, etc. (see picture) while “scrubbing” through to see the transition you will
see the transition at the speed you scrub
Or
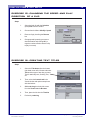
You can select the transition with the Selection (arrow) tool and select from the menu
bar: Selection > Render Selection. This will render the transition or prepare it to be
viewed in real time. It may take a few minutes. After it has finished rendering, you can
move the current time indicator in the Timeline to before the transition and you can hit the
spacebar to play the sequence and watch the transition
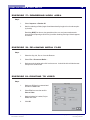
**Fade to Black** Fade to black is a transition that goes to between a clip and nothing.
Some programs requires you to put a black clip in the Timeline to fade between- Final Cut
Pro 2 does NOT require one. To fade in: trim the front of a clip and place a cross dissolve
on the edit point at the front of the clip. This is the same exact process as a regular
transition.
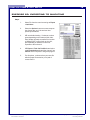
EXERCISE 13: CHANGING OPACITY OF A CLIP
Steps:
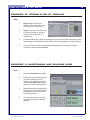
1.
Place a clip in track V2 or higher above another clip in
track V1
2.
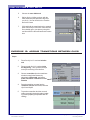
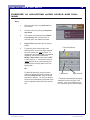
Select the Clip Overlays button to display Opacity
Overlay (black) lines toward the top of the video clips
3.
Select the pen tool from the tool palette
and Volume Level Overlay (red) lines in the middle of the audio clips
4.
Click on the Opacity Overlay (black line) with the pen to make anchors on the black
line
5.
Anchors are movable points; drag them down and up using the Selection tool
6.
Drag Opacity Overlay (black line) to desired opacity: the top is 100% opacity-which
makes it impossible to see what is underneath and the bottom is 0% opacity in which
you see through it completely to the layer underneath
File name: FinalCutPro_User.pmd
Last modified: 06/04/02
Copyright Arizona Board of Regents, 2002
University of Arizona