1
Progeny Software Inc.
Timeline Maker Pro - ver 3.x
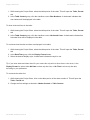
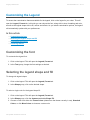
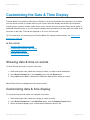
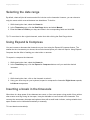
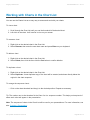
To customize how time is displayed in the chart:
1. While viewing the chart, select the Home tab.
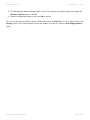
2. In the Timescale group, click the 24 Hour Time checkbox. A checkmark indicates hours and seconds
will be displayed in 24 hour time format.
Tip: If you have dates and times listed for your events but only wish to show times or vice versa, in the
Display Format list select either No Date to show only the time, or No Time to show only the date,
according to your preference.
Using Relative Dates
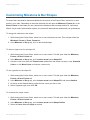
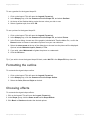
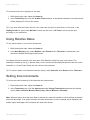
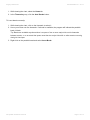
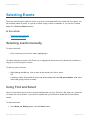
To use relative dates on your events & timescale:
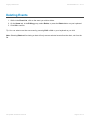
1. While viewing the chart, select the Home tab.
2. In the Date Display group, select Relative under Events and/or Timescale. A checkmark in the
checkbox indicates the display format chosen.
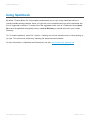
Your dates will now be relative to the time span of the date/time of the first event on the chart. The
timescale increment in use (e.g. quarters, days, hours, minutes) will be displayed above the first tick on the
timescale, or if in the Project Chart, the first column of the timescale.
Tip: To return to dates to the standard calendar display, select Calendar under Events and/or Timescale.
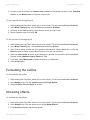
Setting time increments
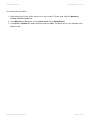
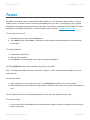
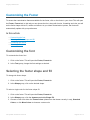
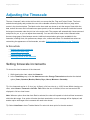
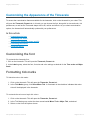
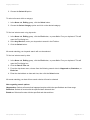
To choose the time increments of the timescale and relative dates:
1. While viewing the chart, select the Home tab.
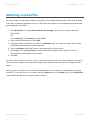
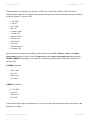
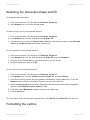
2. In the Timescale group, click the down arrow under Change Timescale to and select the desired
option (Years, Quarters, Months, Weeks, Days, Hours, Minutes or Seconds).
Note: When an option other than Auto Date is selected, the chart will expand to include all time increments
within the date range. If an option will make the chart unworkable, an error message will be displayed, and
another option with larger time increments will need to be chosen.
Last update: 2015/07/23 13:44:26
Page 67 of 114