1
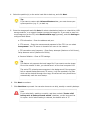
 Tip
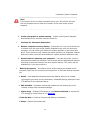
This backup performed in PE is not supported by Universal Restore.
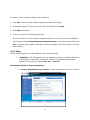
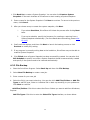
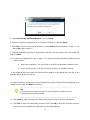
4.Enter the storage path and click Goto, or select a destination location on a hard drive, USB
storage medium, or a network location to store the image file. Some optional settings will be
displayed if you click Advanced; these include: compression mode, password protection,
image split, backup priority, and network connection speed.
5. Click Next.
6. Review the information and settings that have been specified. Click Next to launch the
backup process, or click Previous to modify setting(s).
7. Click Finish to return to main console.
5.2.3 Return to a System Snapshot
5.2.3.1 Return to a System Snapshot in Pre-OS Manager
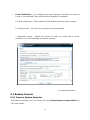
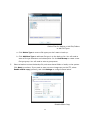
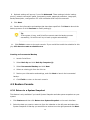
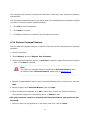
1. Click on Return to a System Snapshot icon to display a list of System Snapshots. The
first System Snapshot listed will be the most recently created snapshot.
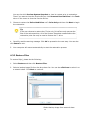
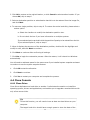
2. Select the date you want to restore to from the calendar on the left pane and select System
Snapshot of that day you would like to restore on the right pane and click Next.
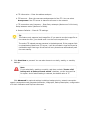
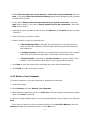
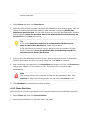
3.
Choose to restore the Entire Hard Drive or C : Drive Only and then click Next to begin
restoration.
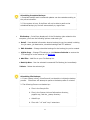
Tip
If the user chooses to restore the C Drive only, DriveClone only restores the
files of the active partition. All of the System Snapshots created before the
restoration point can only be used to restore C: drive.
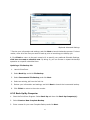
4. Carefully read the warning message. And then click OK to proceed to next step. You can also
click Cancel to exit.
5. Your computer will restart automatically to start the restoration process.
A complete restore can take from 20 seconds up to 10 minutes, depending on the number of
files affected. Once the system has restarted, your SYSTEM will be restored from the chosen
System Snapshot. All file modifications and additions made after System Snapshot date will be
removed.
43