1
2.3.1. Activating/Deactivating Validation
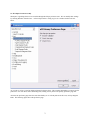
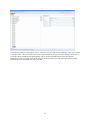
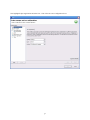
As stated above, we can choose which of our projects we wish to perform validation on. This means that if we have
two at3 projects in our workspace then we chose to active validation on either project or both or neither. This value
is set as a project preference. We have the choice to include a project in our global preferences. If we choose to
deactivate validation within the project specific settings, that project will not be validated.
If a project is set to follow the workspace settings, then it will either be active or inactive based on the global setting.
2.3.2. Checking Warnings/ Checking Errors
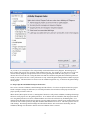
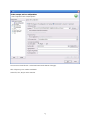
The Check Warnings/ Check Errors option is available so that we may be able to validate our diagrams, ignoring or
including certain type of problems. If we would want to ignore warnings on our project, then we simply deselect
this option in our preference page. We can mix and match preferences for each project and doing so has no effect
over the next, so long as the project is not set to follow workspace settings.
3. How to Create New at3 Validation Rules
To make adding a new rule easy on users, we now created a diagramRule extension. Most features in Eclipse are
available through extensions. This extension allows the user to provide essential information about the new rule,
which is gathered through either a wizard page, which in itself is an extension point (Method 1) or through direct,
manual creation (Method 2) and contribute the basic logic behind the rule. Once this is done, the rule will be apart
of validation package. In the following sections we describe just how to add new rules to the at3 Validation plug-in.
To create new rules we have two options. The first is referred to as Method 1 – Wizard Usage and the other is
Method 2 – Manual Creation. Both of these require that once complete, the user sets the appropriate preferences.
This is outlined in the section Setting Preference Store Values.
3.1. Method 1 – Wizard Usage
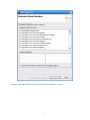
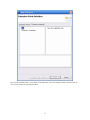
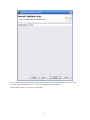
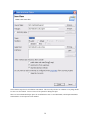
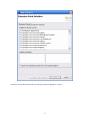
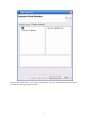
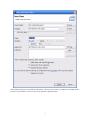
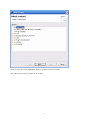
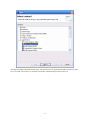
In this section we will walk through how to create a new at3 Validation rule using the extension’s wizard page.
Prerequisites
The user must have access to the at3 Validation plug-in source code.
The user must have the at3 Validation plug-in .jar file placed in the plug-ins folder in the Eclipse HOME directory.
The user must have at3 Validation project open in the workspace.
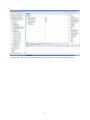
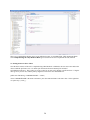
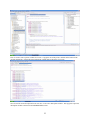
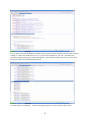
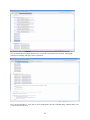
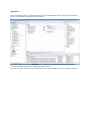
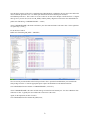
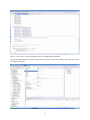
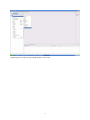
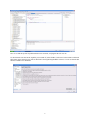
Once the user has satisfied all of the prerequisites, we must expand at3 Validation plug-in project. Located in the
project is the plugin.xml file. Select plugin.xml and open it in the editor view.
5