1
2-6. Adding Text
Whether you need text to explain something or to label something,adding text is easy.
There is not that much difference between a text clip and a normal video clip. Screen
Recorder Studio treats them almost the same: you can resize it or position it anywhere
on the screen.
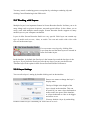
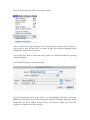
Start by switching to the Text tab:
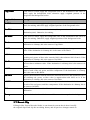
You enter the text into the main text field.You can set the style of the text such as the
font, color, size, and alignment.
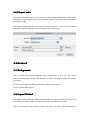
With the scroll option set, the text will scroll across the screen. Set In option to have
the text scroll in, and the Out option to have the text scroll out. Check both boxes to
have the text scroll In and then Out. The direction menu will set the scroll direction.
You can easily create a rolling credit effect
by setting both the In and Out options and
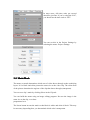
the Up direction. Check the Shadow box to
enable shadow under the text. The offset
option determines where the shadow is.
Move the slider to set the shado
transparency.
The duration determines how long the text
will be displayed.
Click Insert to insert the text at the current
time in the current layer.
2-7. Working with Paint and Shapes
Drawing on your movie is not only fun, but also useful. It can be used for highlighting
specific things in your movie.
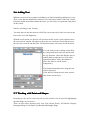
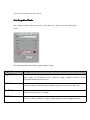
There are nine basic drawing tools: Pen, Line, Brush, Eraser, Fill Bucket, Droplet,
Rectangle Shape, Oval Shape, and Rounded Rectangle Shape.