1
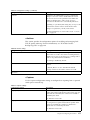
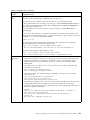
network tap or spanned switch port, configuring capture instances,
defining web servers to monitor and ignore, defining traffic filters, and
defining capture tuning parameters
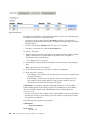
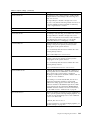
“PCA Web Console - Delivery Tab” on page 105
Specifying Tealeaf servers to receive packaged hits from Passive Capture,
setting delivery parameters, synchronizing time
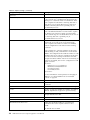
“PCA Web Console - SSL Keys Tab” on page 110
Loading, editing, and deleting private keys for web servers that are
monitored; obtaining more information about, ignoring, or deleting missing
private keys
“Pipeline Settings” on page 113
Editing configuration parameters that control hit processing; time-grading,
capture mode, sessionization, include/exclude extensions.
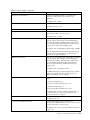
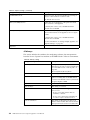
“Downloading Privacy Configuration” on page 128
Enabling/disabling privacy, creating and editing privacy rules
“Stats per Instance” on page 145
Viewing Passive Capture activity metrics
“PCA Web Console - Backup-Logs Tab” on page 164
Backing up and uploading the configuration file; viewing various log files;
enabling/disabling packet archiving.
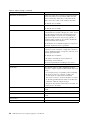
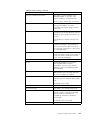
“PCA Web Console - Failover Tab” on page 166
Managing failover settings
“PCA Web Console - Utilities Tab” on page 168
Access various utilities for PCA administrators
“PCA Web Console - Debug Page” on page 173
Managing PCA core dumps
Configuration
The following sections contain some basic configuration steps for setting up the
PCA Web Console.
Enabling Web Console Authentication
Access to the PCA web console can be restricted. See Hardware Setup and
Operating System Installation.
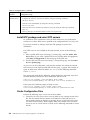
Toggling HTTP/HTTPS Access
By default, the PCA web console is accessible in HTTP mode over port 8080 or in
HTTPS mode over port 8443.
Optionally, you can configure the PCA to not be accessible in one of these modes.
Steps:
To toggle access, complete the following steps.
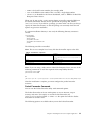
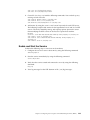
1. Edit the /usr/local/ctccap/etc/runtime.conf file.
2. Add or edit the following lines:
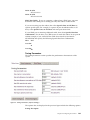
httpd_port_enable="NO"
httpd_portssl_enable="YES"
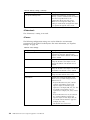
Mode Settings
Chapter 4. Configuring the CX PCA
69