1
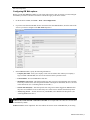
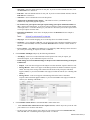
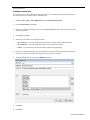
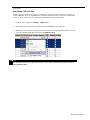
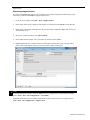
10. Click Repository-Email and specify the following information:
• Subject for Case-level/Job-level/Witness-level/Invoice-level – Enter text that will appear in the
Subject line when case/job/witness/ or invoice repository notification emails are sent.
• Message Header – Enter text that will appear in the Message field as the header of all repository
notification emails. This field supports HTML, so you can insert HTML codes (tags) to format the
header. (See “Working with HTML.”)
• Message Footer – Enter text that will appear in the Message field as the footer of all repository
notification emails. This field supports HTML, so you can insert HTML codes (tags) to format the
footer. (See “Working with HTML.”)
• Use HTTPS for download hyperlink – Check this box if you are using SSL for RB Web.
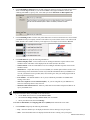
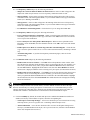
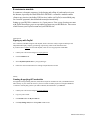
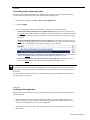
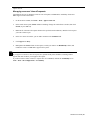
11. Click Repository-Others and specify the following information:
• Users to Notify for Repository Notification – When you send repository notifications to clients
from RB8, you have an option to send a copy to the office. Click Add to select users who should
receive copies of the notification.
• Users to Notify for New File Upload or Delete Request – When resources upload files in the
Repository section of RB Web, the office should be alerted. Click Add to select users who should
be notified.
• Enable option to set ‘Mark as reviewed’ flag at the time of downloading files – Check this box
to give users the option to mark a file as ‘reviewed’ when its download starts, eliminating a manual
step.
• Annotation Flag Name – If you have the Repository Annotation plug-in, enter text for the
annotation flag.
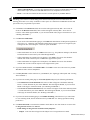
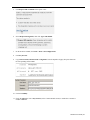
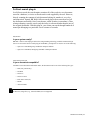
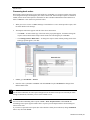
12. Click Business Units and specify the following information:
• Business Units Access for Contacts – Click Add. In the Lookup Business Units window, select
all of the business units that clients should have access to when using this web site. Normally, you
select all of your business units, unless you purchased additional RB Web licenses connected to
the same RB8 database. Highlight the main business unit, then click Set as Default. The default
business unit is displayed when the client is entering a new job request. (See Best Practices below.)
• Business Units Access for Resources – Click Add to select all of the business units that resources
should have access to when using this web site. Normally, you select all of your business units,
unless you purchased additional RB Web licenses connected to the same RB8 database. Highlight
the main business unit, then click Set as Default. The default business unit is displayed on billing
sheets and worksheets.
BEST PRACTICES
If you have multiple business units (branch offices), it will be difficult for clients to choose the right
business unit when they are entering job requests. For that reason, it is recommended that you create
a dummy business unit called Web Order and make it the default business unit. Back in the office, the
calendar staff will make a determination as to which business unit should handle the request.
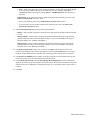
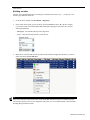
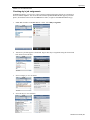
13. Click Accessibility. By default, all modules and options are enabled when RB Web is installed. To
disable (turn off) any of the modules or options, check the corresponding box.
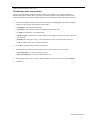
• Transcripts and Transcript Packages – Leave boxes checked to prevent contacts from accessing
transcripts before you receive payment. See “Controlling online transcript access.”
• Allow Prefill Parties – Leave this box checked to allow resources to add parties during turn-in
already in your RB8 database from the job, case or previous turn-ins. (Uncheck to make RB Web
turn-in less complicated for resources.)
RB Web 8 User Guide | 4