1
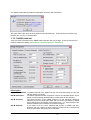
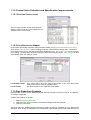
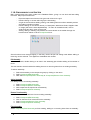
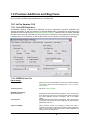
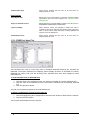
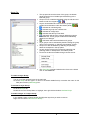
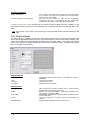
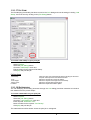
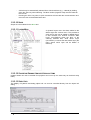
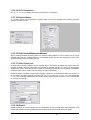
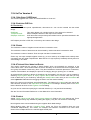
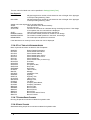
Each image has the following individual settings:Embed Image:
Embeds (saves) the image directly into the design
Image Path:
Relative Path:
A link to the image file is inserted into the design rather than
embedding the entire image. When “Use relative path” is
checked, the link (i.e., folder path) will be relative to the location
of the IRRICAD design. This feature is very useful if the design is
shifted to another computer, drive or folder. As long as the image
file is located in the same place relatively then the link will be
intact and the image displayed. Note that all images are inserted
using a “Relative Path” if possible. Relative paths cannot be used
if the design has not been saved or if the image is on a different
drive to the design. In these cases, the absolute path is used
instead.
Lock Aspect Ratio:
If this item is checked, the image rectangle will be constrained to
the aspect ratio (height/width) of the original image during
placement. If unchecked then the image can drawn so that it is
distorted compared to the original. Once the Image file has been
selected (by clicking the [Open] button) the image can be placed
on the screen using the mouse or keyboard entry. The lower left
corner is located first (with a left mouse click or keyboard
coordinates), a rectangle is then drawn out (when using the
mouse the left button should NOT be depressed during this
stage) and then the upper right corner is placed. Note that in
previous versions the upper left, and then lower right, corners of
the image were specified.
Rotation:
A rotation angle cannot be entered before placement, but the
orientation (rotation) of the image may be set after it has been
inserted into the design.
Flip Horizontal:
When checked, the image is mirrored horizontally.
Flip Vertical:
When checked, the image is mirrored.
Show Image as Grayscale:
Can be shown as grayscale only (black and white).
Display a border around the image:
A border around the image can be turned on or off. Once
inserted, the color and line style of this border can be set by
editing the image.
Display Image:
Each image can now be individually turned on or off.
Tips: If an image is embedded this will increase the design file size dramatically. Though this may
be a preferred option if sending designs from branch to branch, it may not be the best option.
Borders can now be turned on or off by the “Show Border” check box. The user may want to
turn off the borders when tessellating or overlapping multiple images.
Images can be individually turned off for display by unchecking the “Show Image” option. If
the image is turned off in “Show Image” the border automatically displays.
Images can now be added to symbols, including plot layouts (e.g., adding logos).
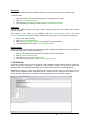
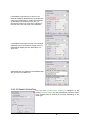
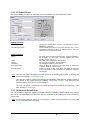
After an image has been imported, the settings can be edited by double-clicking on the image when in
Select Object mode, or by using Change. Note the previous settings for Images in the Settings menu
no longer exists.
22 · Release Notes Pro V11
Release Notes IRRICAD Pro Version 11