1
Working with Components
The beginning model
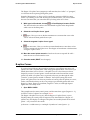
If at any time what you see doesn’t match what we are saying, just back up to the
most recent place where we had you open a specific .MS2 file and proceed anew (you
may have done something as simple as skipping a line in the text), or use an
intermediate distribution file (see “MultiSurf Tutorials: Introduction - Taking a
break”). The intermediate .MS2 files for "Working With Components" live in the
MultiSurf \Tutorials folder.
“MultiSurf Tutorials: Introduction” contains information about taking a break, what
to do if your screen doesn’t match our instructions, basic terminology, typeface and
symbol conventions, and troubleshooting.
When you Save, Save As or Export files in this tutorial, you may get a “Replace
existing file?” query. If you do, it just means someone has already run the tutorial
and saved a file under that name. Go ahead and replace the file.
Let’s go!
The beginning model
MultiSurf for SolidWorks Users
When MultiSurf is integrated with SolidWorks, the component feature operates the
same as detailed in this exercise. For this Tutorial we ask that you run MultiSurf in
the Stand-alone mode for simplicity's sake.
In MultiSurf
1
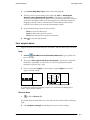
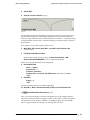
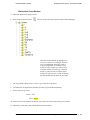
File>Open>3MCS.MS2 from the \MultiSurf \Tutorials folder. This is a set of 3
lofting curves.
2
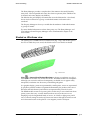
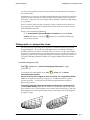
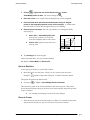
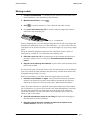
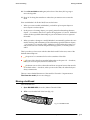
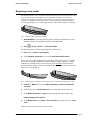
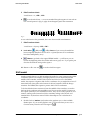
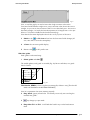
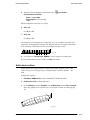
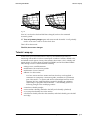
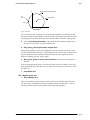
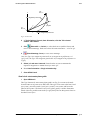
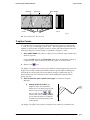
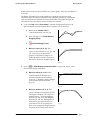
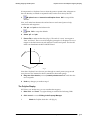
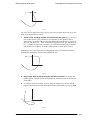
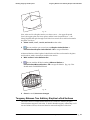
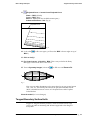
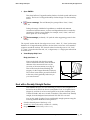
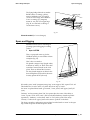
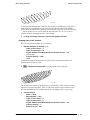
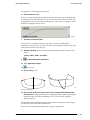
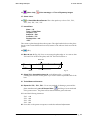
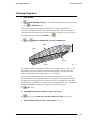
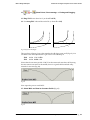
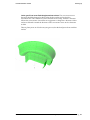
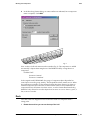
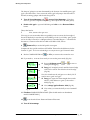
Switch to <y> view for a moment to see how they are different from the DEMO
Master curves (Fig. 1):
•
The transom slants and ends below the design waterline (DWL).
•
The bow is rounder.
Fig. 1
3
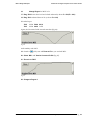
Switch back to <Home> view.
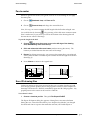
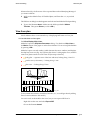
Check program settings
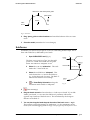
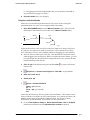
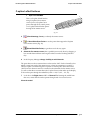
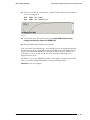
Before we go any further, let’s all get together on program settings. This is what you
should have:
March 24, 2011
AeroHydro, Inc Marine Tutorials User's Guide • 160