1
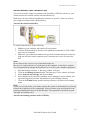
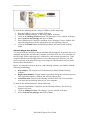
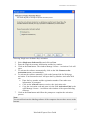
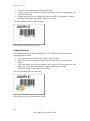
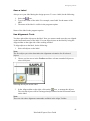
Designing Labels
Left
Right
Horizontal center
Top
Bottom
Vertical center
You can also distribute object evenly, so that spacing between them is equal:
Horizontally
Vertically
Note:
If you hold the <CTRL> key while clicking the buttons, objects are aligned relative to
label and not to the first selected object.
The shortcut <Ctrl> + A opens the Align dialog box with same functionality as the
Design toolbar.
Resizing Objects
To resize the object on the label, do the following:
1. Select the object.
The selected object is framed with a rectangle.
2. Click on one of the small rectangles in the corners of the rectangle.
3. Hold the mouse key pressed.
4. Move the position of the cursor on the screen.
The object will resize with the cursor.
Rotating Label
To rotate the label on the screen, do the following:
1. Click on the
icon in the top left corner of label design area (where vertical
and horizontal ruler collide).
2. The label will rotate for 90° clockwise.
Each click on the button will rotate the label for additional 90 degrees. The initial
rotate position is portrait. Each click will rotate the label to the next position. The
positions in line are: portrait, landscape, rotated portrait, rotated landscape.
Rotating the label on screen will help you define label easier, when the objects on the
label must be printed rotated, but you want to be able to design the label in the upside
orientation.
78
NiceLabel Express User Guide