1
Working with FotoFusion
63
Canvas Texture
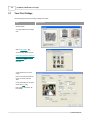
To set the canvas texture,
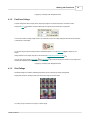
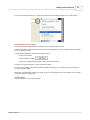
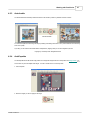
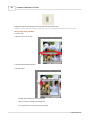
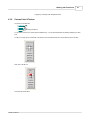
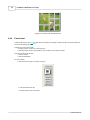
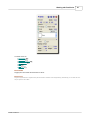
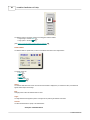
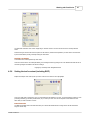
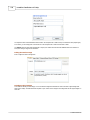
1. Click on the canvas or the area outside the canvas to open the Canvas Toolbox.
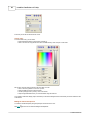
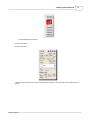
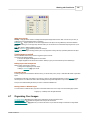
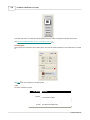
2. Click on the 'fill' control to open the Canvas Fill Editor.
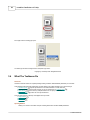
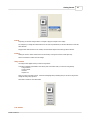
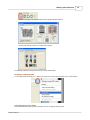
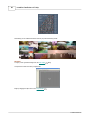
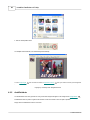
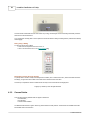
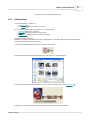
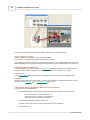
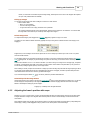
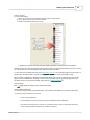
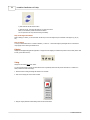
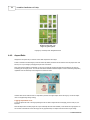
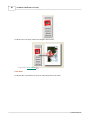
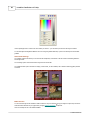
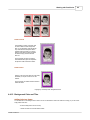
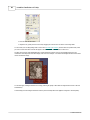
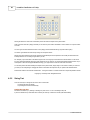
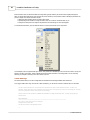
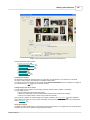
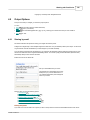
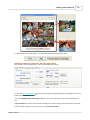
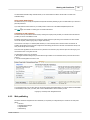
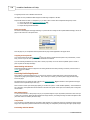
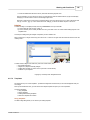
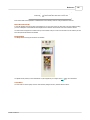
3. Choose a new background tile from the 'Tile' list:
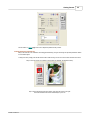
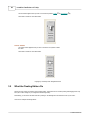
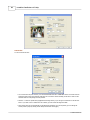
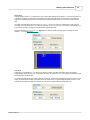
4. Adjust the size and blur of the background tile by dragging appropriate controls directly below the swatches.
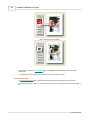
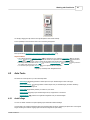
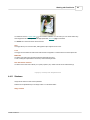
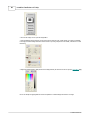
Note that you can have a color and a background tile active at the same time. Simply reduce the opacity of the color to see the
tile. This will allow you to retint the background tile to better match your composition.
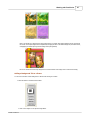
You can create your own backgrounds in tools such as PhotoShop, Genetica, or any other design program, and store them in a
specific folder. We suggest a 3600 x 3600 pixel image at 300 dpi in jpg format to ensure a good quality of image.
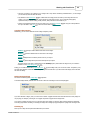
Place your newly created tiles in C:/Programs/LumaPix/FotoFusion/Tiles; when you next run FotoFusion these new tiles will
appear in the list of available tiles. Alternatively, you can save them in another folder of your choosing, bring them to the
FotoFusion canvas as you would any other image, and set them as a background texture 64 .
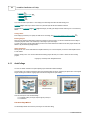
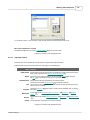
Canvas Image
Click here
64
for details on setting an image as a background texture.
Canvas Matte and Border
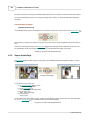
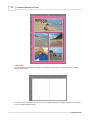
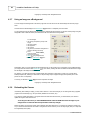
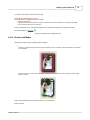
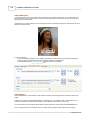
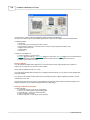
The canvas is nothing more than a large protected frame. You can add the same effects as you would to any other frame.
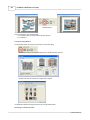
To unlock the canvas to add effects to the canvas:
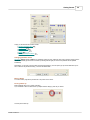
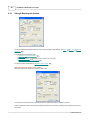
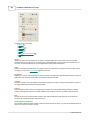
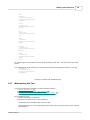
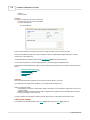
· Click on the SETTINGS tab.
· Click OUTSIDE the canvas area. This will reveal the LAYERS area under the Settings tab.
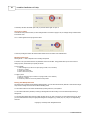
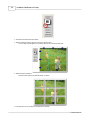
· Unprotect the Canvas layer. Now if you click on an exposed part of the canvas, you will be able to select the
frame, and apply borders and mattes as you would any other frame.
© 2006 LumaPix Inc.